Whether you’re adding personality to a raised bed or marking rows in a vegetable patch, painted garden stakes are an effortless way to blend artistry with function. In this guide, you’ll discover simple steps to transform reclaimed wood into beautiful markers that harmonize with natural landscapes.
Gathering Materials and Inspiration

Start by sourcing driftwood, fallen branches, scrap fencing boards or any weathered wood around your property. These found pieces lend an organic texture and unique grain patterns that factory-cut lumber can’t replicate. Choose stakes of varying lengths (8″–18″) for visual interest. For color palettes, imagine deep terracotta, muted olive, soft ochre and warm umber—earthy tones that complement greens and browns in any garden.
Preparing Your Wood
- Cleaning and Drying
Gently brush off loose bark or debris with a stiff brush. If your wood is damp, let it air-dry fully to avoid peeling paint later. - Sanding for Smoothness
Lightly sand surfaces and edges with 120-grit sandpaper. This removes splinters and encourages paint adhesion without erasing the wood’s character. - Filling Cracks (Optional)
For larger splits, apply an eco-friendly outdoor wood filler, then re-sand once dry.
Selecting Paints and Tools

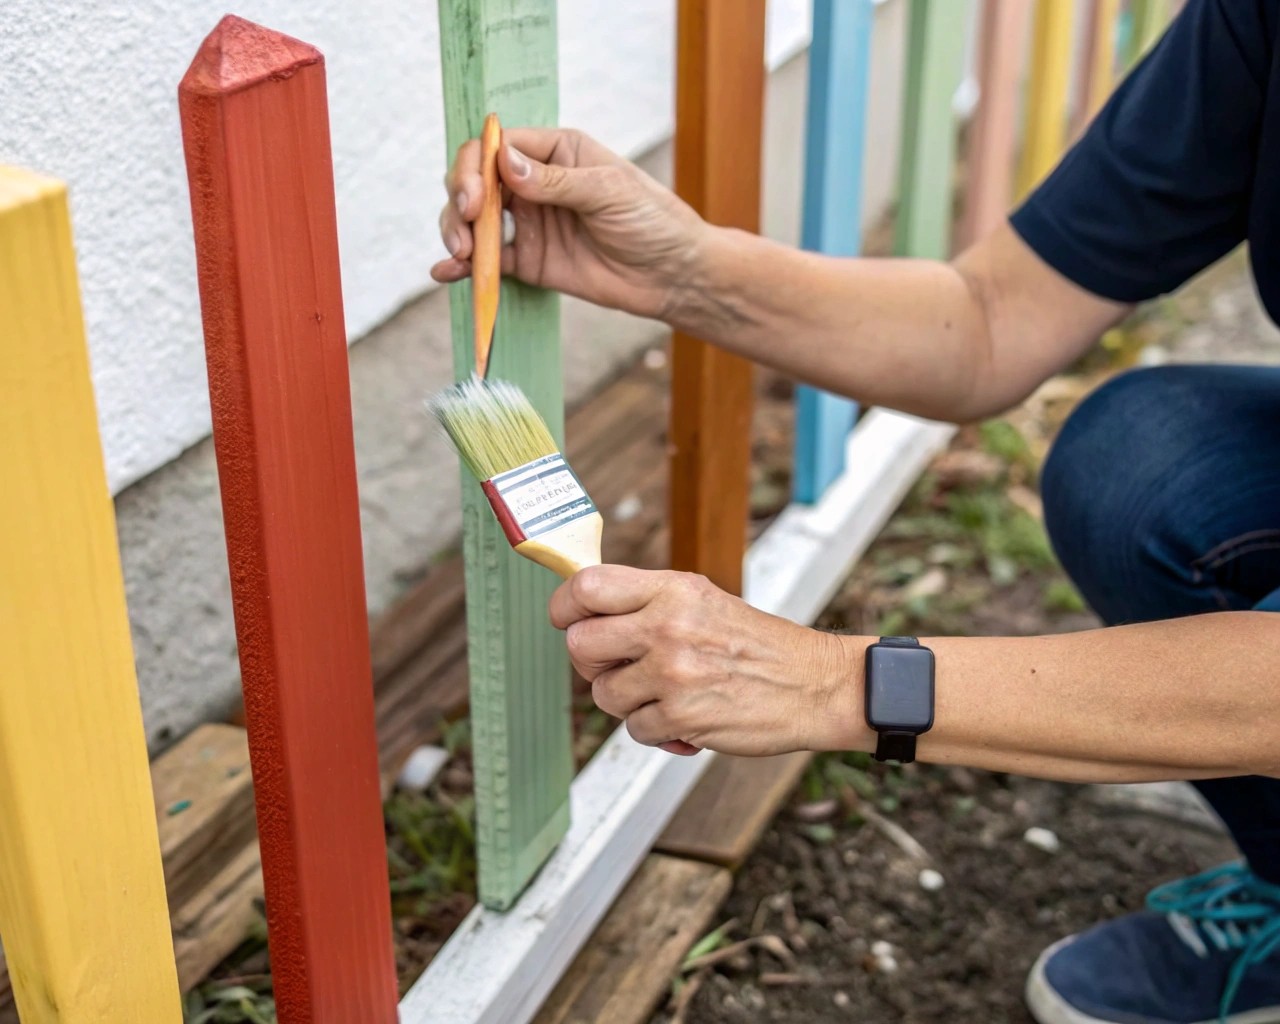
- Paint Type: Use acrylic-latex or outdoor-grade chalk paint—both bond well to wood and resist fading.
- Brushes: A variety pack including a ½-inch angled brush for edges and a 1–2-inch flat brush for broad strokes.
- Sealant: A clear, matte outdoor polyurethane preserves color without glossy shine.
Techniques for Earthy Effects

- Base Coat Wash
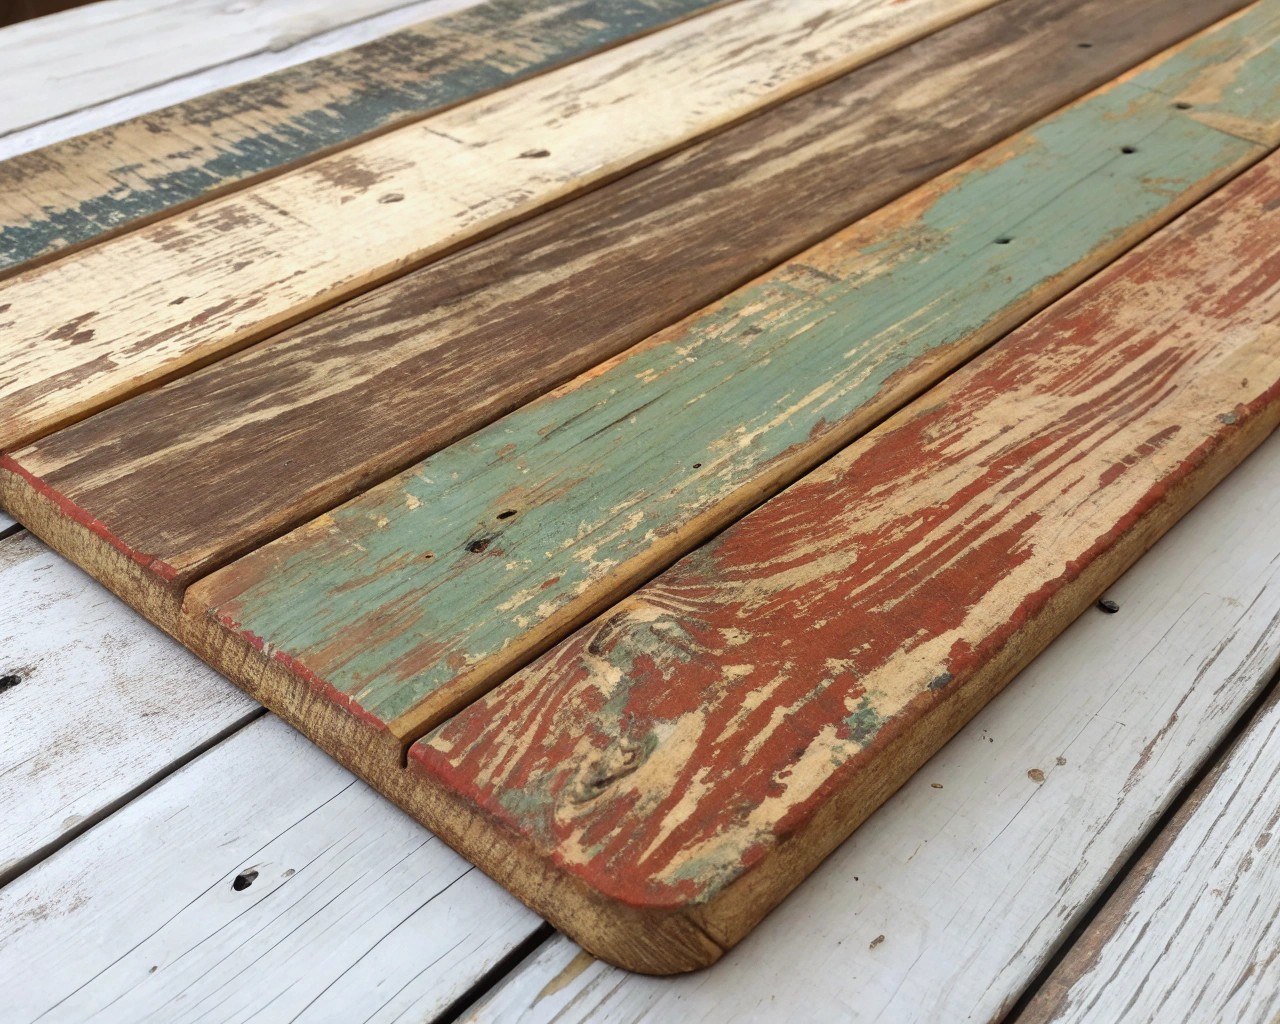
Thin your paint with a splash of water to create a translucent wash. Brush it on, then quickly wipe back with a rag to reveal wood grain. This technique mimics aged farm signage. - Layering and Sponging
After the wash dries, dab on contrasting tones—say olive over ochre—with a natural sponge. This creates depth and a softly mottled surface. - Distressing
Lightly sand edges and flat faces after painting to expose raw wood beneath, suggesting gentle weathering.
Adding Lettering and Symbols

Keep text legible and simple—common examples include “Tomatoes,” “Basil,” or “Cut Flowers.” Use these methods:
- Stencil Guidance: Secure a vinyl stencil, apply paint in thin layers, then peel off carefully for crisp letters.
- Hand-Lettering: Sketch letters in pencil, then fill with a small brush. Imperfections reinforce handmade charm.
- Iconic Marks: Consider a small leaf silhouette, a bee icon, or simple arrows to indicate row direction.
Sealing and Installing

Once all layers are fully dry:
1. Apply two thin coats of matte sealant, allowing 2–4 hours to cure between coats.
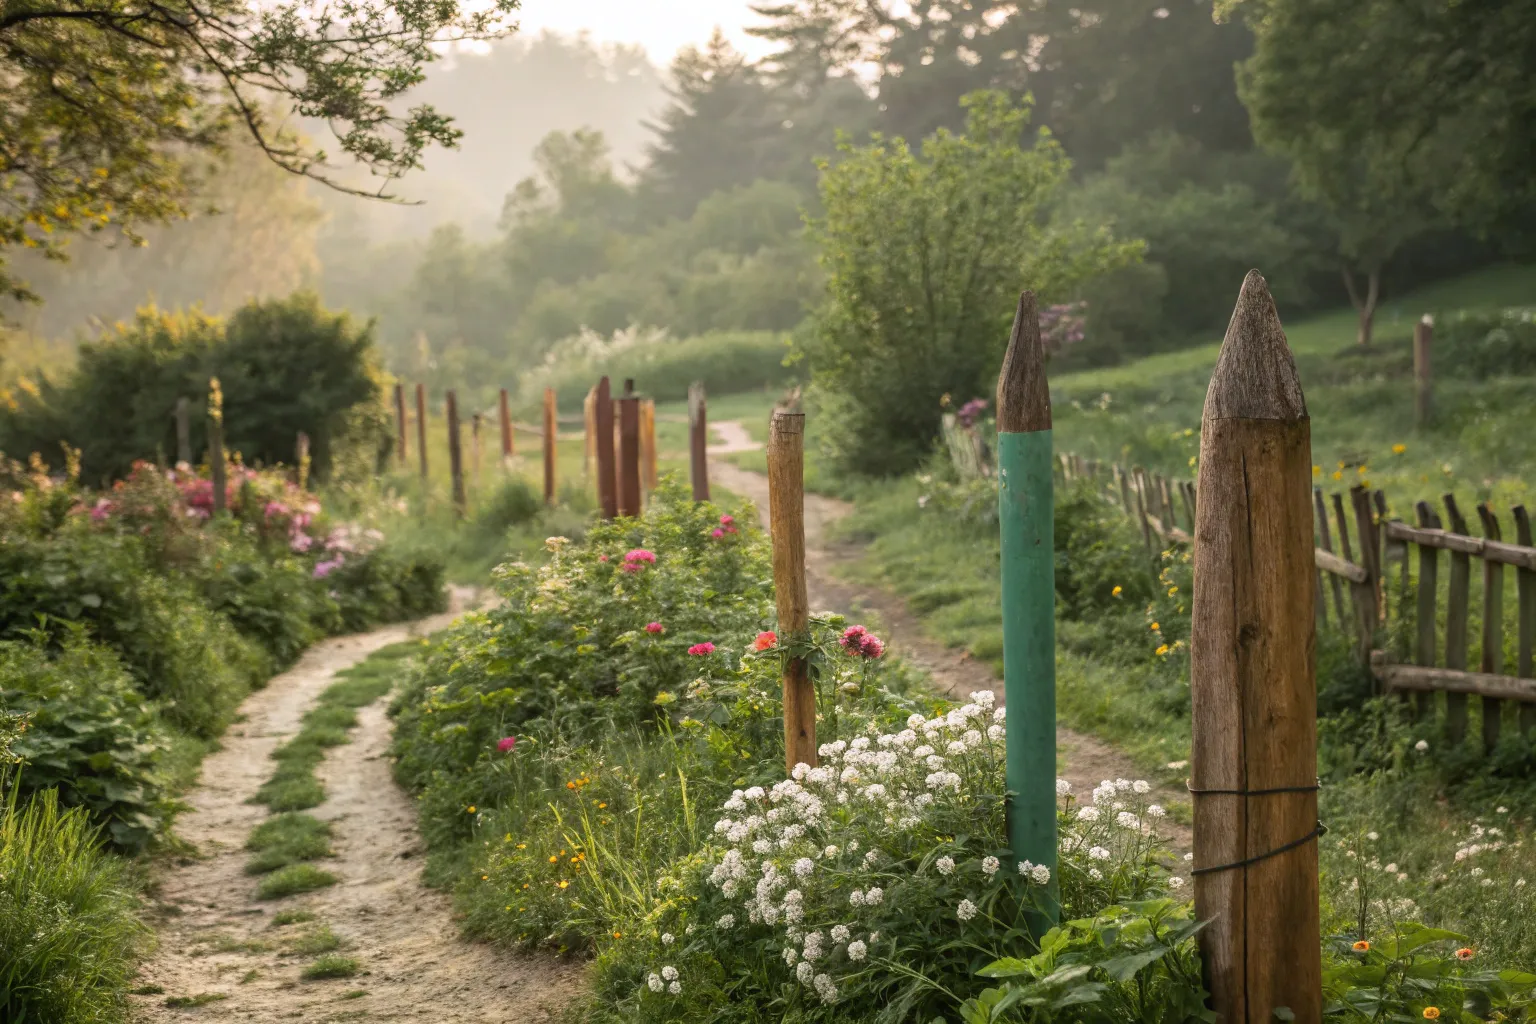
2. Drive stakes gently into soil—avoid splitting by making a pilot hole with a garden trowel if ground is hard.
3. Space stakes according to plantings (e.g., every 12″ in herb rows, or one per 2–3 tomato plants).
Adaptable Ideas and Variations
- Color-Coded Crops: Assign a hue per plant type (e.g., terracotta for roots, olive for herbs, ochre for flowers) to help you navigate at a glance.
- Seasonal Themes: Swap in cooler tones like dusty lavender or slate gray in autumn, then brighter mustard or sienna in spring.
- Mixed Materials: Combine painted boards with small terracotta tags tied on with jute twine for a rustic layered look.
Tip from My Workshop
When I tested these stakes in my clients’ community garden, the watercolor-like washes held up through rain and sun for over a year. The key was thinning paint just enough to let the wood breathe, then sealing lightly to avoid a plastic sheen.
By following these steps, you’ll create durable, artful garden stakes that blend seamlessly with earthy, sustainable gardens. Happy painting!

