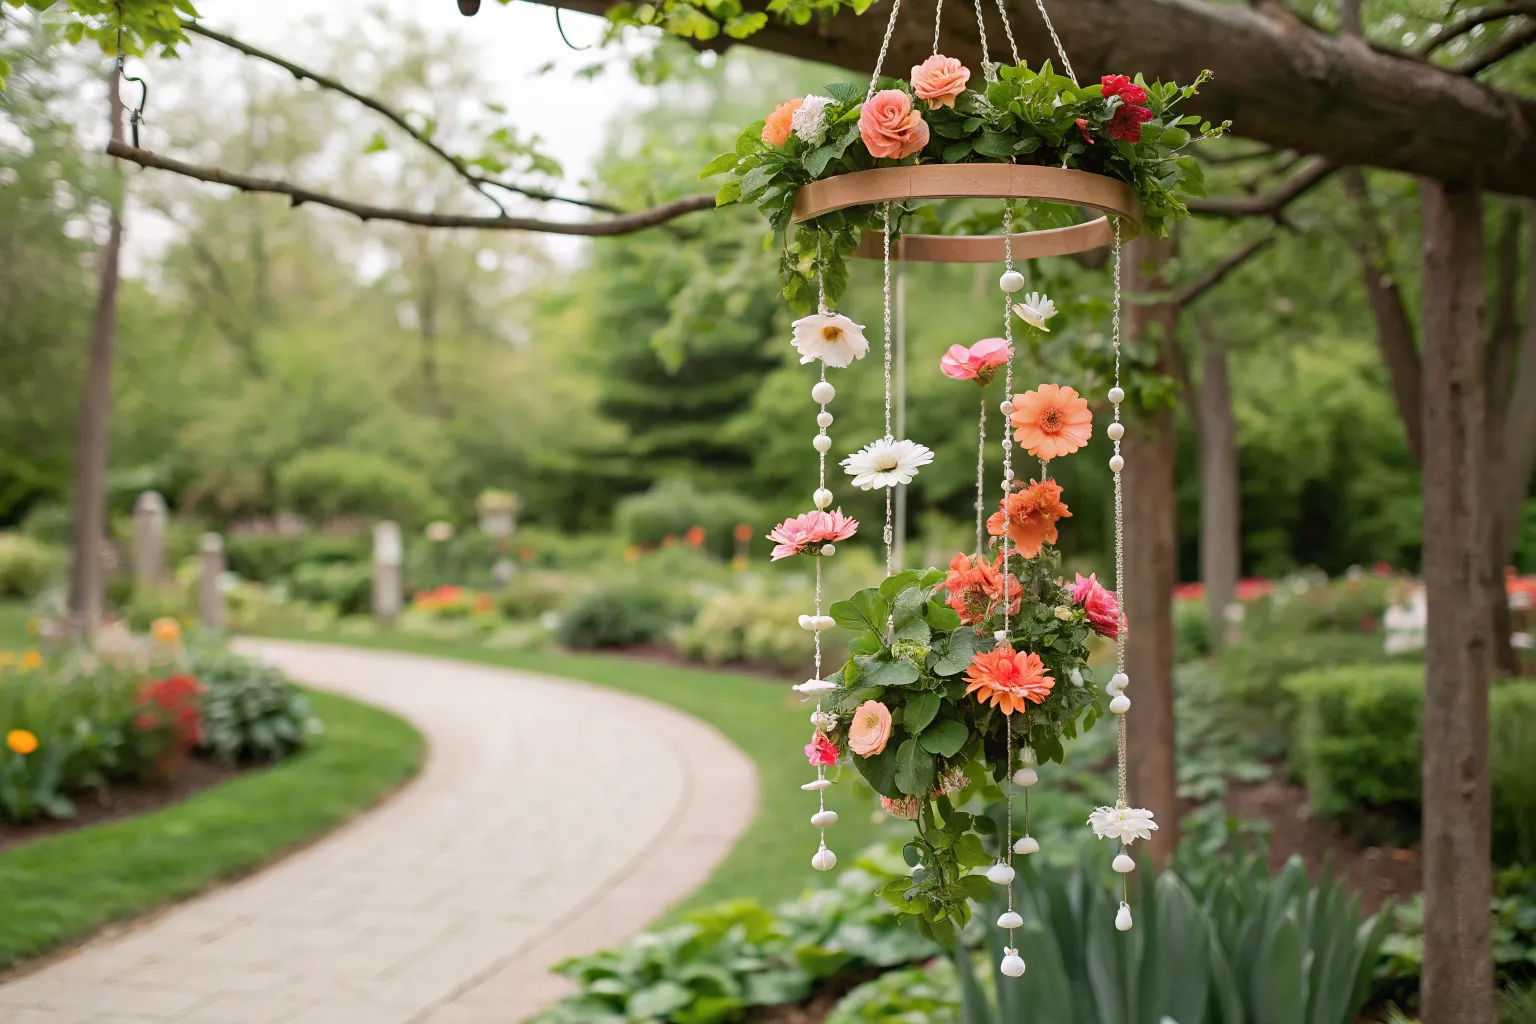
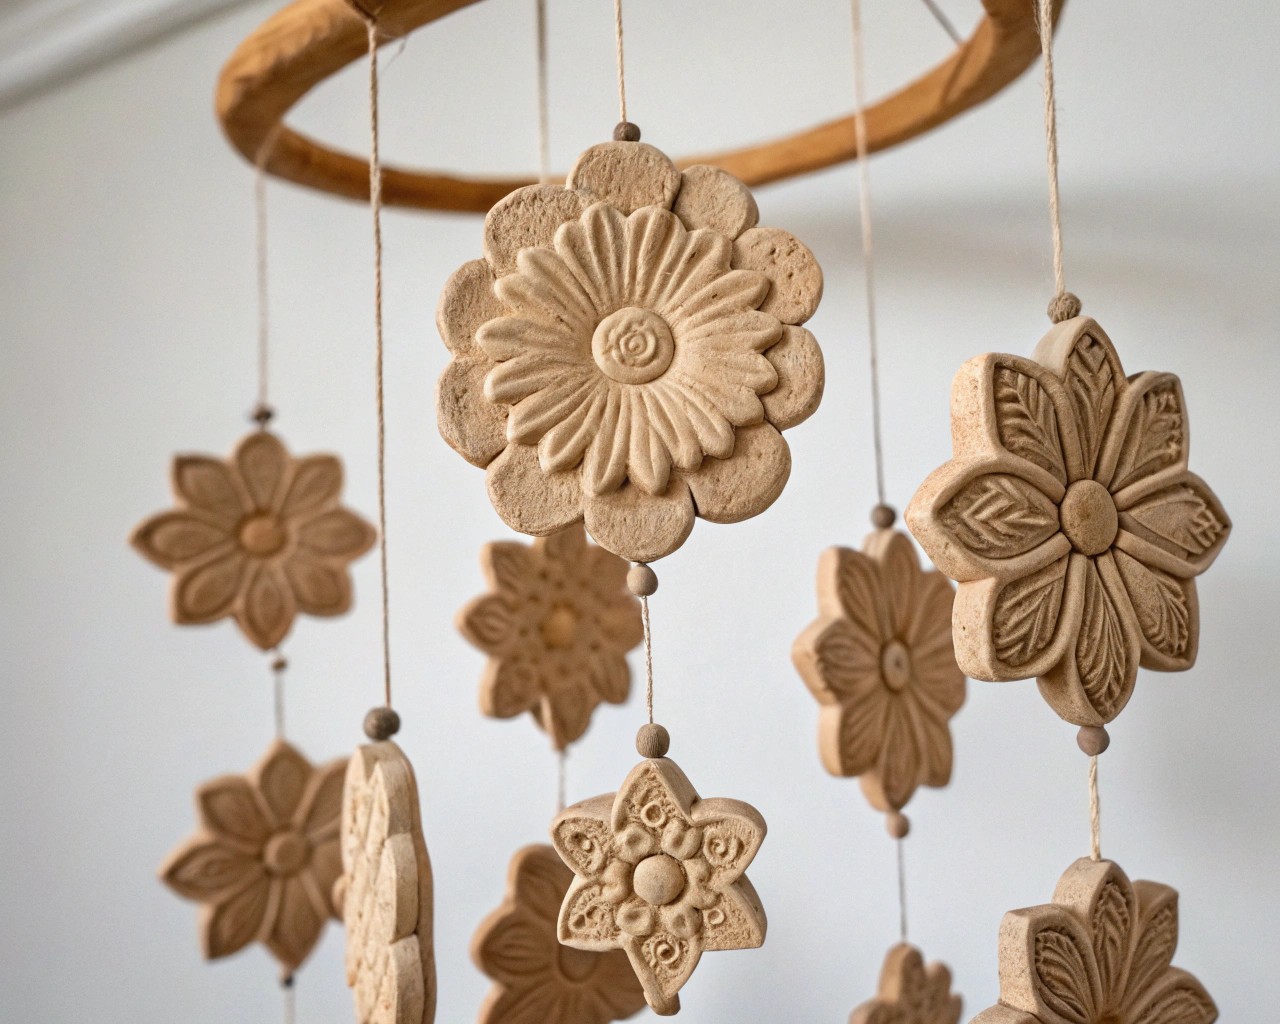
Creating beautiful outdoor décor that catches the breeze and brings natural elegance to your garden space has never been more rewarding. This floating flower mobile combines the durability of air-dry clay with weatherproofed paper elements to create a stunning kinetic garden accent that dances gracefully in outdoor settings.
Understanding the Magic of Movement
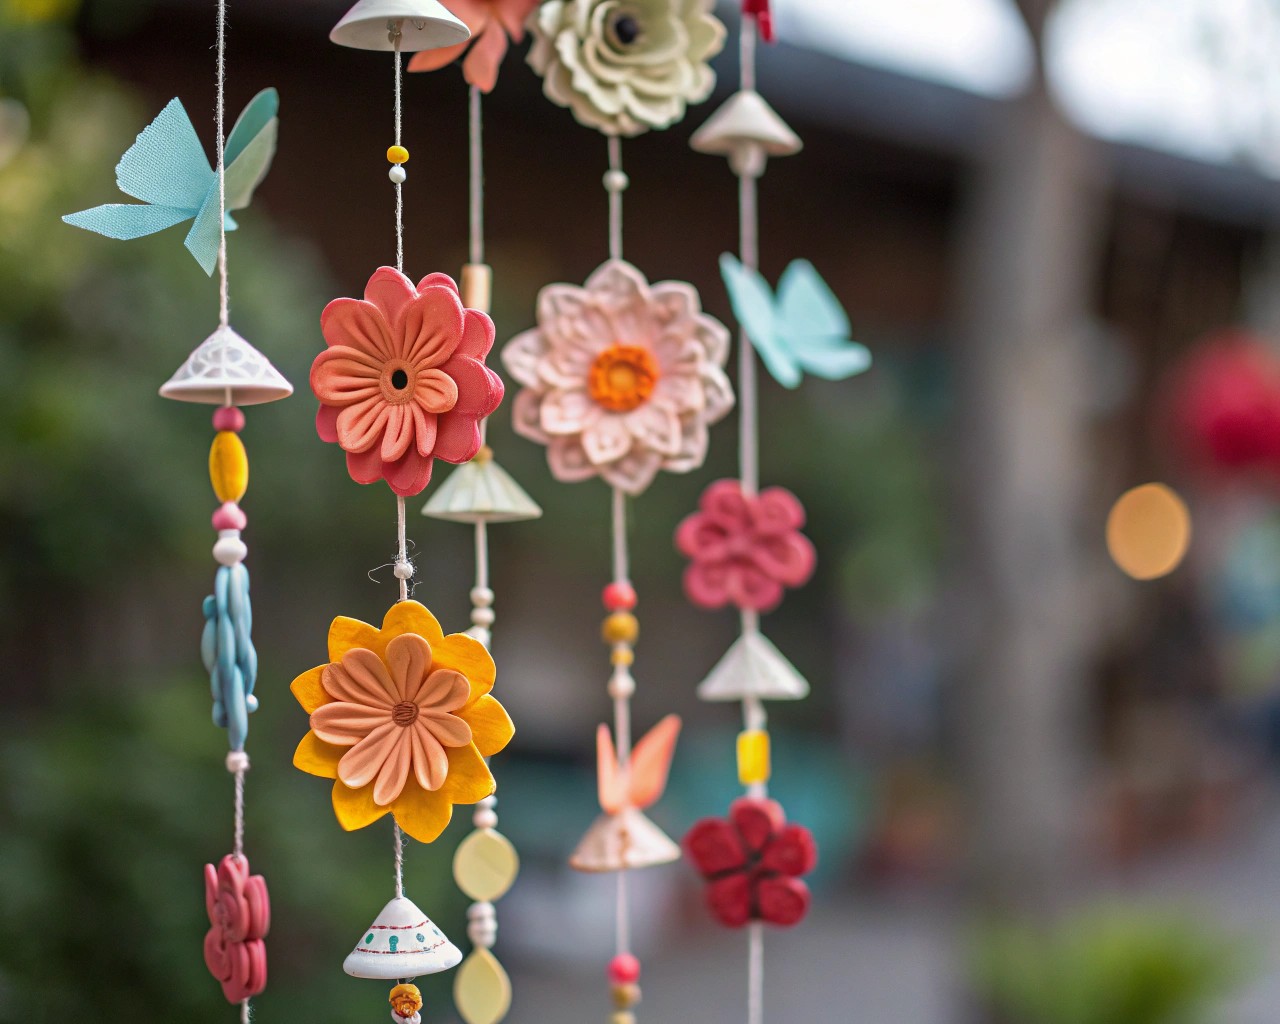
The concept of a floating mobile relies on careful weight distribution and strategic placement of elements at varying heights. When we create flowers from different materials—clay for the heavier anchor pieces and treated paper for the lighter dancing elements—we achieve that mesmerizing floating effect where each component moves independently yet harmoniously with the others.
I’ve found that the key to successful outdoor mobiles lies in understanding how air currents interact with different shapes and weights. The clay flowers serve as natural stabilizers, while the weatherproofed paper elements provide the graceful movement that makes these pieces so captivating to watch.
Essential Materials and Tools
For Clay Flowers
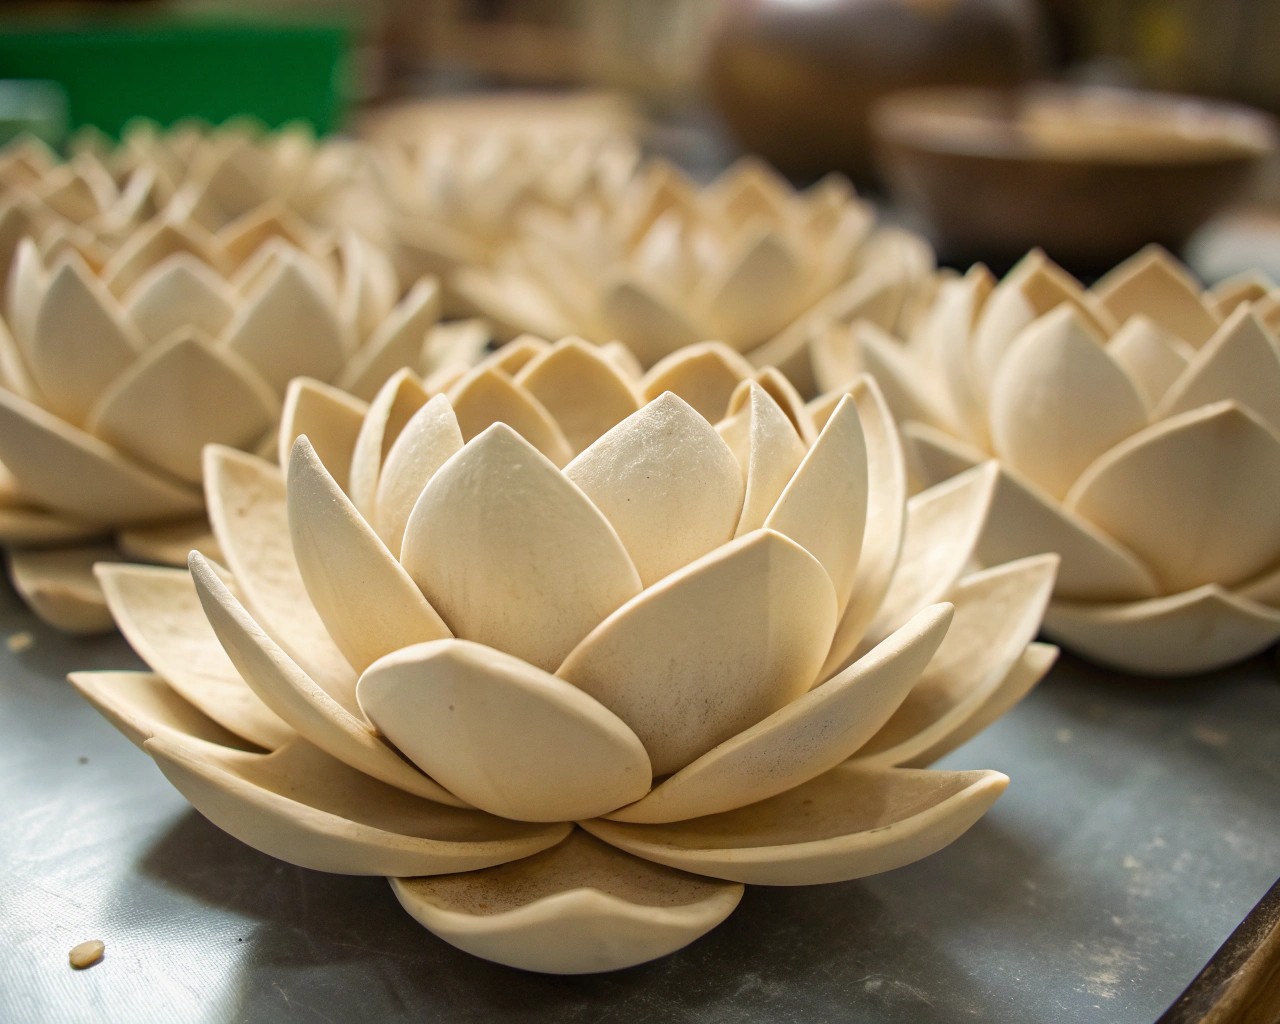
| Material | Quantity | Purpose |
|---|---|---|
| Baking soda | 2 cups | Primary clay base |
| Cornstarch | 1 cup | Binding agent |
| Warm water | 1¼ cups | Moisture activation |
| Acrylic paint | As needed | Color enhancement |
For Paper Elements
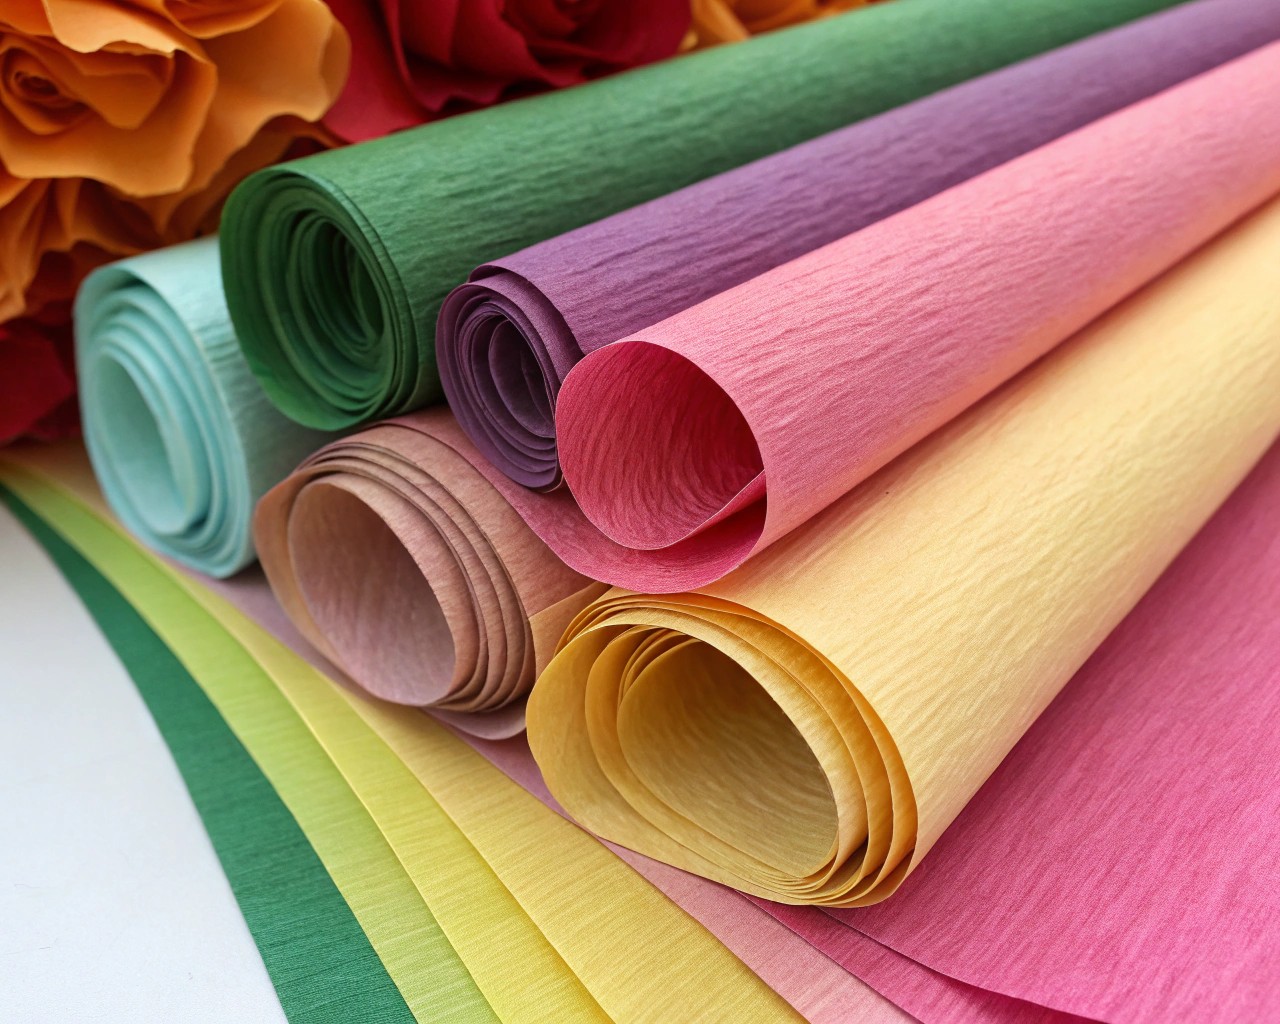
| Material | Quantity | Purpose |
|---|---|---|
| High-quality crepe paper | Various colors | Lightweight petals |
| Soy wax flakes | 1 cup | Waterproofing agent |
| Wooden skewers | 12-15 pieces | Dipping handles |
| Microwave-safe container | 1 large | Wax melting |
Assembly Components
- 12-inch wooden embroidery hoop
- Natural hemp twine (weather-resistant)
- Fishing line (clear, 20lb test)
- Hot glue gun with outdoor-rated adhesive sticks
- Wire cutters
- Needle-nose pliers
Crafting Weather-Resistant Clay Flowers
The Perfect Clay Recipe
The foundation of our outdoor mobile begins with creating clay that can withstand temperature fluctuations and humidity. This particular recipe creates a remarkably durable material that maintains its integrity in outdoor conditions.
Step-by-Step Clay Preparation:
-
Mixing the Base: Combine 2 cups baking soda and 1 cup cornstarch in a medium saucepan. The ratio is crucial—too much cornstarch creates brittleness, while excess baking soda leads to cracking.
-
Heat Activation: Add 1¼ cups warm water gradually while stirring continuously over medium-low heat. The mixture will initially appear lumpy, but persistent stirring transforms it into a smooth, pliable dough.
-
Achieving Perfect Consistency: Cook for 10-15 minutes until the mixture pulls away from the pan sides and forms a cohesive ball. The texture should resemble thick mashed potatoes.
-
Cooling and Conditioning: Transfer to a bowl, cover with damp paper towel, and cool completely before handling.
Shaping Techniques for Mobile Elements
Petal-by-Petal Method for roses and complex blooms:
- Roll small clay portions into teardrop shapes
- Flatten each piece to create natural petal thickness
- Score the back of each petal with crosshatch marks
- Apply water sparingly as “clay slip” for bonding
- Build flowers from center outward, overlapping petals naturally
Cookie Cutter Technique for uniform shapes:
- Roll clay to ¼-inch thickness
- Cut flower shapes, then separate petals with craft knife
- Layer multiple cutouts for dimensional depth
- Create center details with toothpick texturing
Scissor Flower Method for dahlia-like blooms:
- Form clay into egg shapes
- Use sharp scissors to cut petal shapes from bottom to top
- Adjust each “petal” individually for natural variation
Drying and Strengthening
Air-dry clay flowers require 3-5 days for complete curing at room temperature. For accelerated drying, bake at 200°F for 1-1.5 hours, flipping once halfway through. Properly dried clay should sound hollow when tapped and show no soft spots.
Waterproofing Paper Elements
Creating Durable Paper Flowers
The magic of outdoor paper flowers lies in proper waterproofing techniques. Traditional paper flowers become soggy and deteriorate quickly outdoors, but wax-treatment creates surprisingly resilient elements.
Wax Preparation Process:
-
Melting the Wax: Fill microwave-safe container with soy wax flakes. Microwave in 2-minute intervals, stirring between sessions.
-
Temperature Control: Allow wax to cool to approximately 100°F—hot enough to remain liquid but cool enough to prevent paper burning.
-
Flower Preparation: Attach wooden skewers to paper flower stems for easy handling during dipping.
The Dipping Technique
Professional Dipping Method:
- Hold flower by skewer, immerse completely in melted wax
- Rotate slowly to ensure even coverage of all petals
- Allow excess wax to drip back into container
- The wax should create a thin, translucent coating that preserves color vibrancy
Quality Indicators:
- Properly waxed flowers maintain their original colors
- Petals should feel slightly stiff but not brittle
- No white, cloudy areas (indicates wax was too cool)
- Even coating without thick drip marks
Mobile Assembly Techniques
Creating the Framework
The embroidery hoop serves as our primary support structure, but proper reinforcement ensures long-term outdoor durability.
Framework Preparation:
1. Sand the hoop lightly to create better adhesive surfaces
2. Apply thin coat of outdoor wood sealant
3. Mark six evenly spaced points around the circumference for hanging elements
Strategic Weight Distribution
Understanding Balance Physics:
- Place heavier clay flowers closer to the center
- Position lighter paper elements toward the outer edges
- Vary hanging lengths to create visual interest and prevent tangling
- Use mathematical spacing: elements should hang at 6″, 9″, and 12″ intervals for optimal movement
Professional Hanging Technique:
1. Pre-cut all twine lengths before assembly
2. Double-knot all connections with drop of hot glue for security
3. Test balance by holding at different points before final installation
4. Adjust individual element positions until mobile hangs level
Installation and Safety Considerations
Outdoor Mounting Solutions
Ceiling Hook Installation:
- Use stainless steel hooks rated for outdoor use
- Install into ceiling joists, not just drywall
- Ensure minimum 8-foot clearance from ground level
- Position away from foot traffic areas
Wall-Mounted Arms:
- Choose galvanized steel mounting brackets
- Install at minimum 3 feet from walls to allow free rotation
- Use adjustable systems for seasonal height modifications
Weather Protection Strategies
Wind Resistance:
- Install in semi-protected areas (covered patios, pergolas)
- Avoid completely exposed locations during high-wind seasons
- Consider removable installation for severe weather periods
Maintenance Schedule:
- Monthly inspection of all connection points
- Seasonal reapplication of protective coatings
- Annual replacement of natural fiber components
Troubleshooting Common Challenges
Clay Flower Issues
Cracking During Drying:
- Reduce thickness of flower elements
- Ensure gradual drying in controlled environment
- Repair small cracks with fresh clay slip before complete drying
Color Fading:
- Apply UV-resistant clear coat after painting
- Choose fade-resistant acrylic paints designed for outdoor use
- Consider ceramic paints for superior color retention
Paper Element Problems
Wax Adhesion Issues:
- Ensure wax temperature remains between 95-105°F during application
- Re-dip elements showing poor coverage
- Use double-dipping technique for maximum protection
Movement Restrictions:
- Check for tangled fishing lines
- Verify adequate spacing between elements
- Adjust hanging lengths to prevent collision during wind movement
Seasonal Adaptations and Variations
Spring Configuration
Focus on pastel clay roses paired with delicate waxed tissue paper cherry blossoms. Use lighter fishing line for maximum movement sensitivity.
Summer Design
Incorporate bold, vibrant clay sunflowers with waxed crepe paper leaves in deep greens. Add reflective elements for evening garden lighting.
Autumn Arrangement
Create clay maple leaves in warm earth tones, combined with waxed paper oak leaves. Use heavier twine for stability during autumn winds.
Winter Display
Design evergreen-inspired clay elements with silver-waxed paper accents. Focus on durability over delicate movement during harsh weather months.
This floating flower mobile represents the perfect marriage of artistic expression and outdoor functionality. By understanding material properties, weatherproofing techniques, and proper installation methods, you create not just decoration, but a dynamic garden element that brings joy throughout the changing seasons. The interplay between sturdy clay anchors and graceful paper dancers creates an ever-changing display that captures both sunlight and breeze, transforming any outdoor space into a gallery of natural movement and color.

