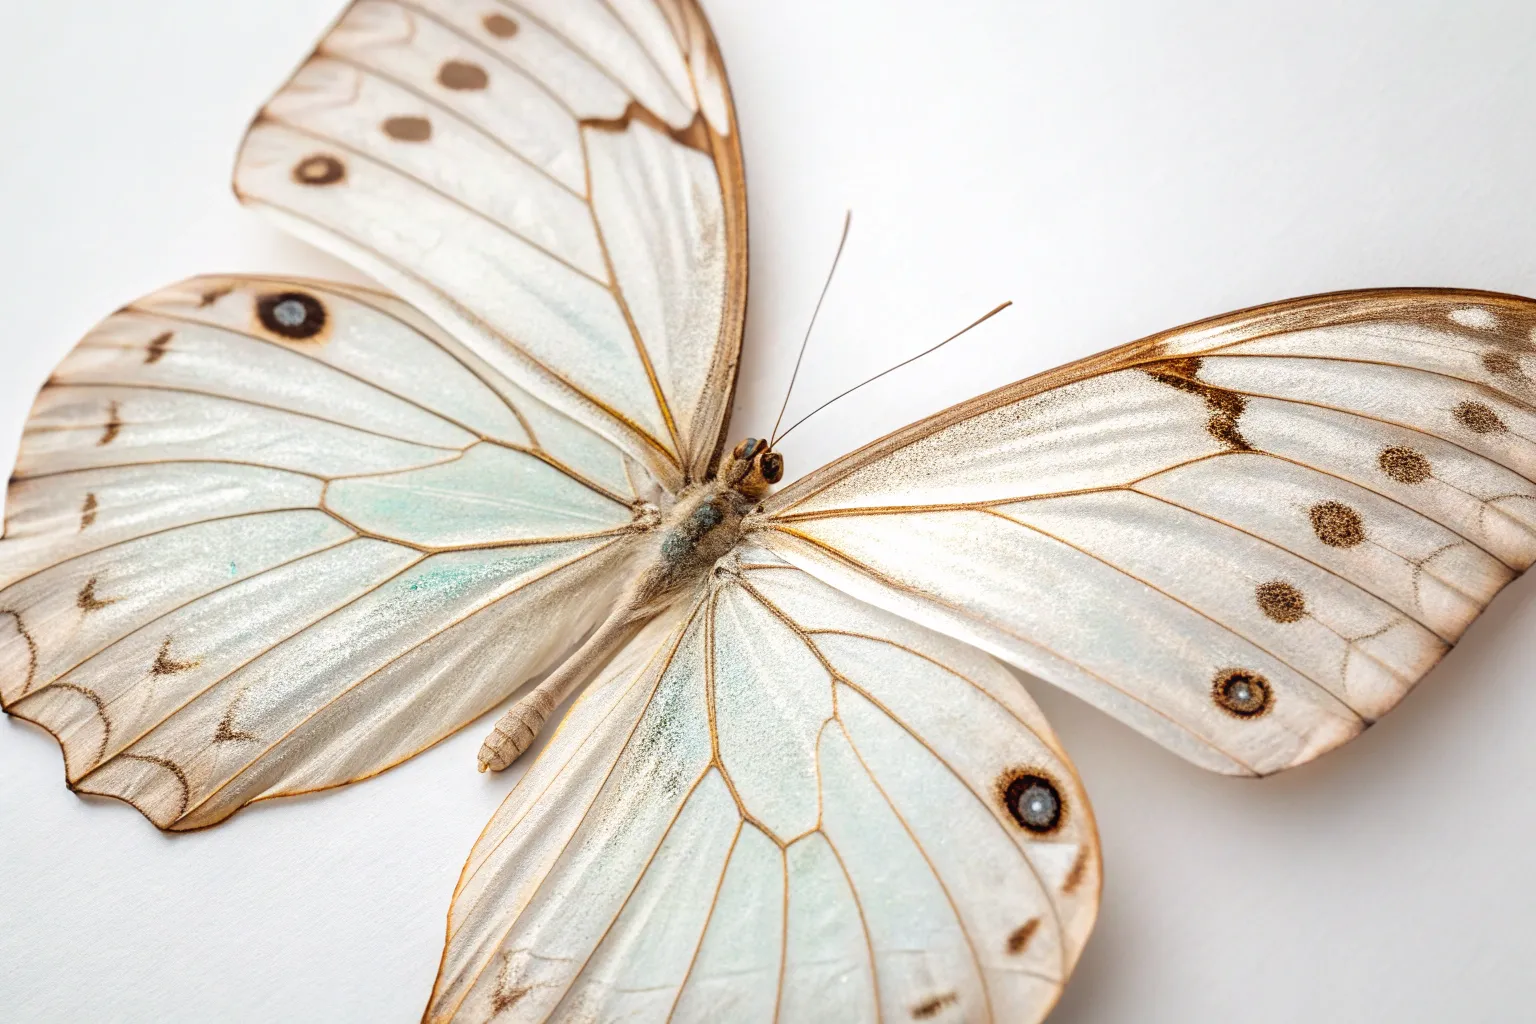
Transform into a mesmerizing butterfly with these ethereal wings that shimmer and catch light beautifully. This technique combines translucent fabrics with strategic painting to create wings that seem to glow from within.
Understanding the Science Behind Light-Catching Wings
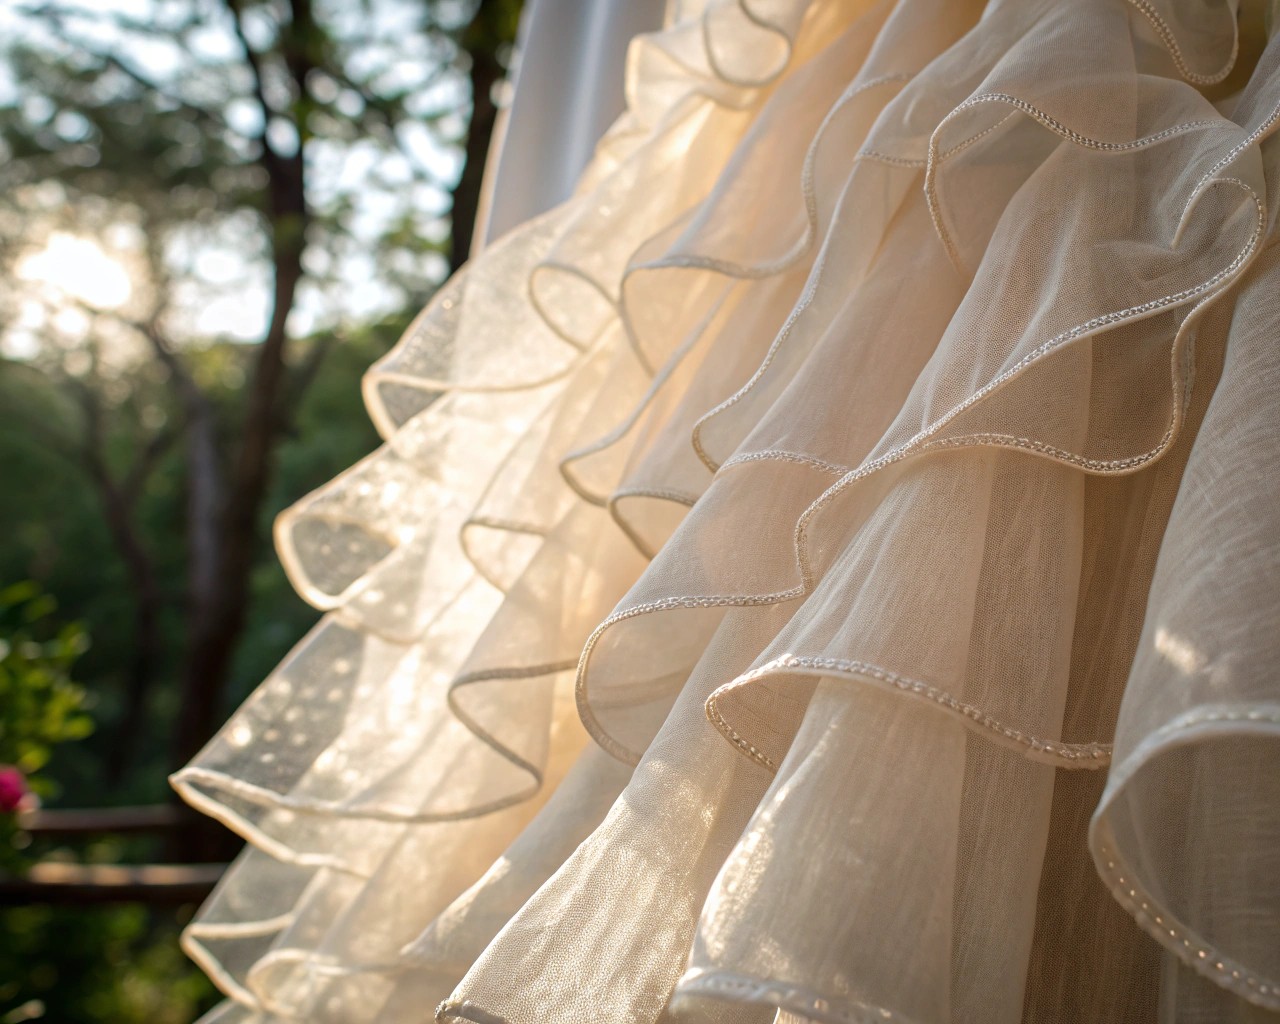
Nature’s butterflies achieve their brilliant iridescence through microscopic structures that manipulate light. While we can’t replicate these nanoscale features, we can create stunning visual effects using layered sheer fabrics and specialized paints. The key lies in understanding how light interacts with translucent materials—when multiple sheer layers overlap, they create depth while maintaining luminosity.
I’ve discovered that the most successful butterfly wings combine structural elements with optical effects. The translucent quality allows light to pass through while reflecting portions back to the viewer, creating that magical shimmer we associate with real butterfly wings.
Essential Materials for Light-Catching Wings
Frame Construction Materials
- 20-gauge galvanized wire (approximately 15 feet): Creates the structural framework
- Coat hangers or 18-gauge wire: For reinforcement in high-stress areas
- Pliers and wire cutters: Essential for shaping and finishing
- Electrical or painters tape: For securing wire joints
Sheer Fabric Selection
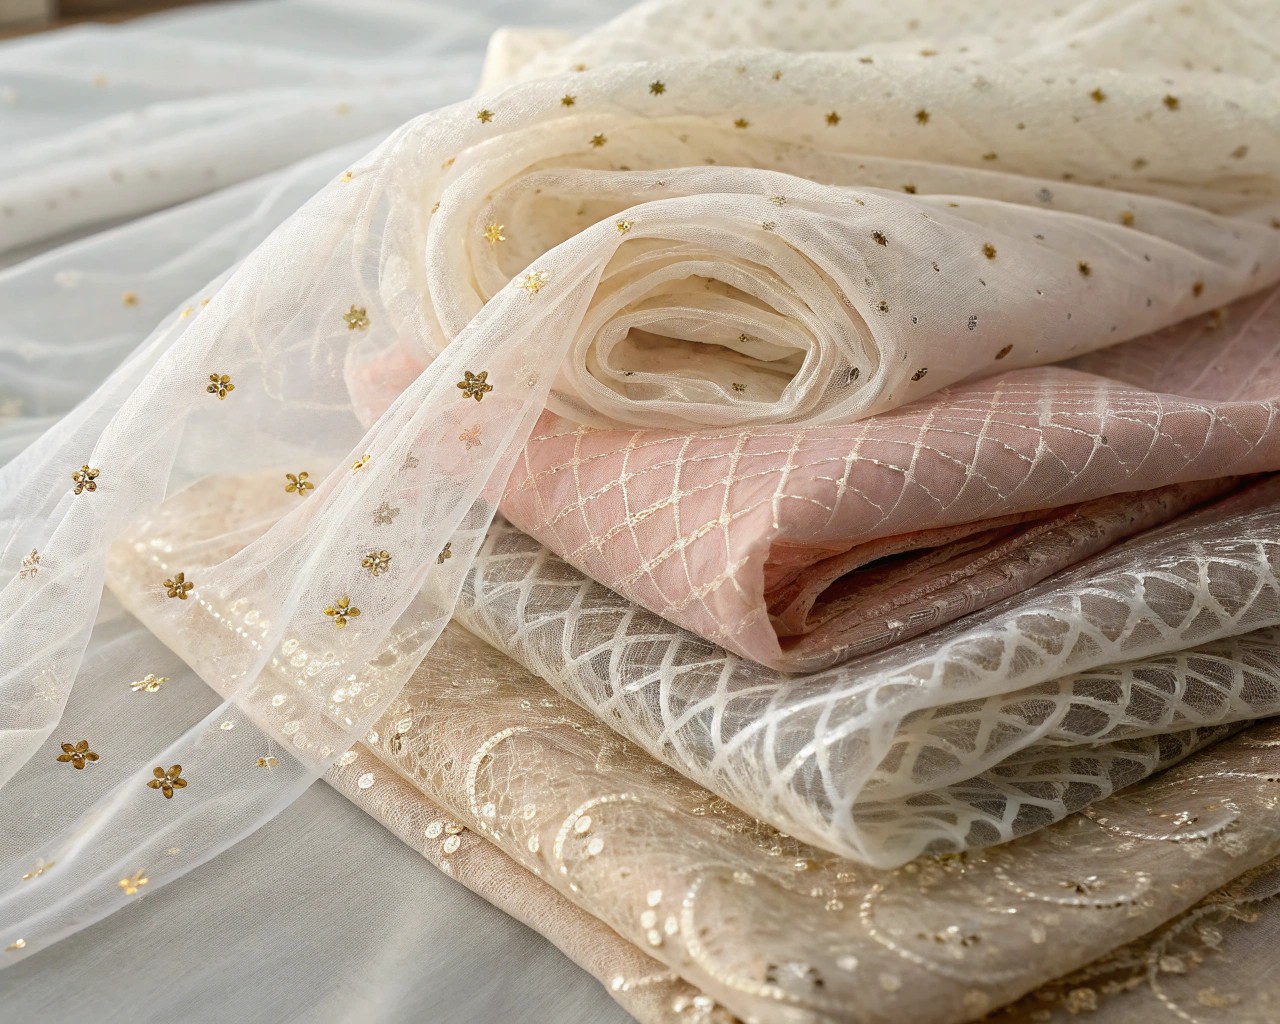
- Organza fabric: The most reliable choice due to its stiffness and light-catching properties
- Tulle or fine mesh: Adds texture variation while maintaining transparency
- Iridescent cellophane: Creates intense light reflection but requires careful handling
Paint and Finishing Supplies
- Dimensional fabric paint: Creates raised veins and structural details
- Iridescent acrylic paints: Available in interference and metallic varieties
- Non-toxic fabric paints: Essential for safety, especially around children
- Soft paintbrushes: Various sizes for different application techniques
- Fabric stiffening spray: Crucial for maintaining wing shape
Safety and Attachment Hardware
- Elastic strapping: 1-inch wide for comfortable wearing
- Safety pins or snap fasteners: For secure, removable attachment
- Padding material: Soft fabric for comfort against the back
Planning Your Wing Design
Sizing Considerations
Standard adult wings typically measure 24-30 inches across and 16-20 inches from top to bottom. For children, scale down proportionally—a 10-year-old usually needs wings approximately 18 inches across.
Shape Variations
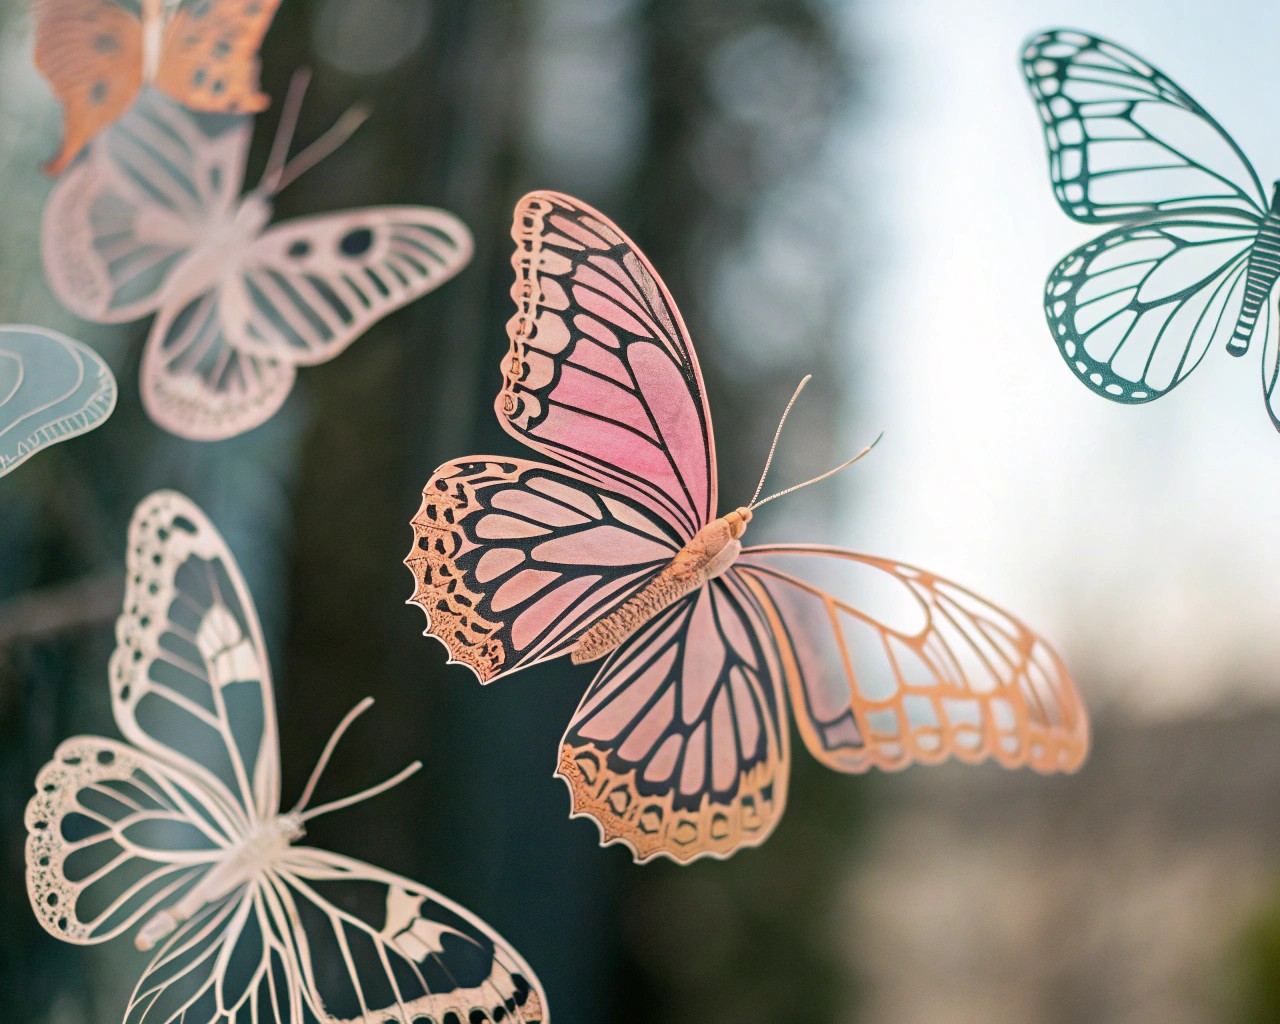
- Monarch style: Bold, angular shapes with distinctive orange and black patterns
- Morpho style: Large, rounded wings perfect for blue iridescent effects
- Swallowtail design: Features elegant trailing edges that require additional support
- Abstract interpretation: Allows creative freedom while maintaining recognizable butterfly proportions
Step-by-Step Construction Process
Creating the Wire Framework
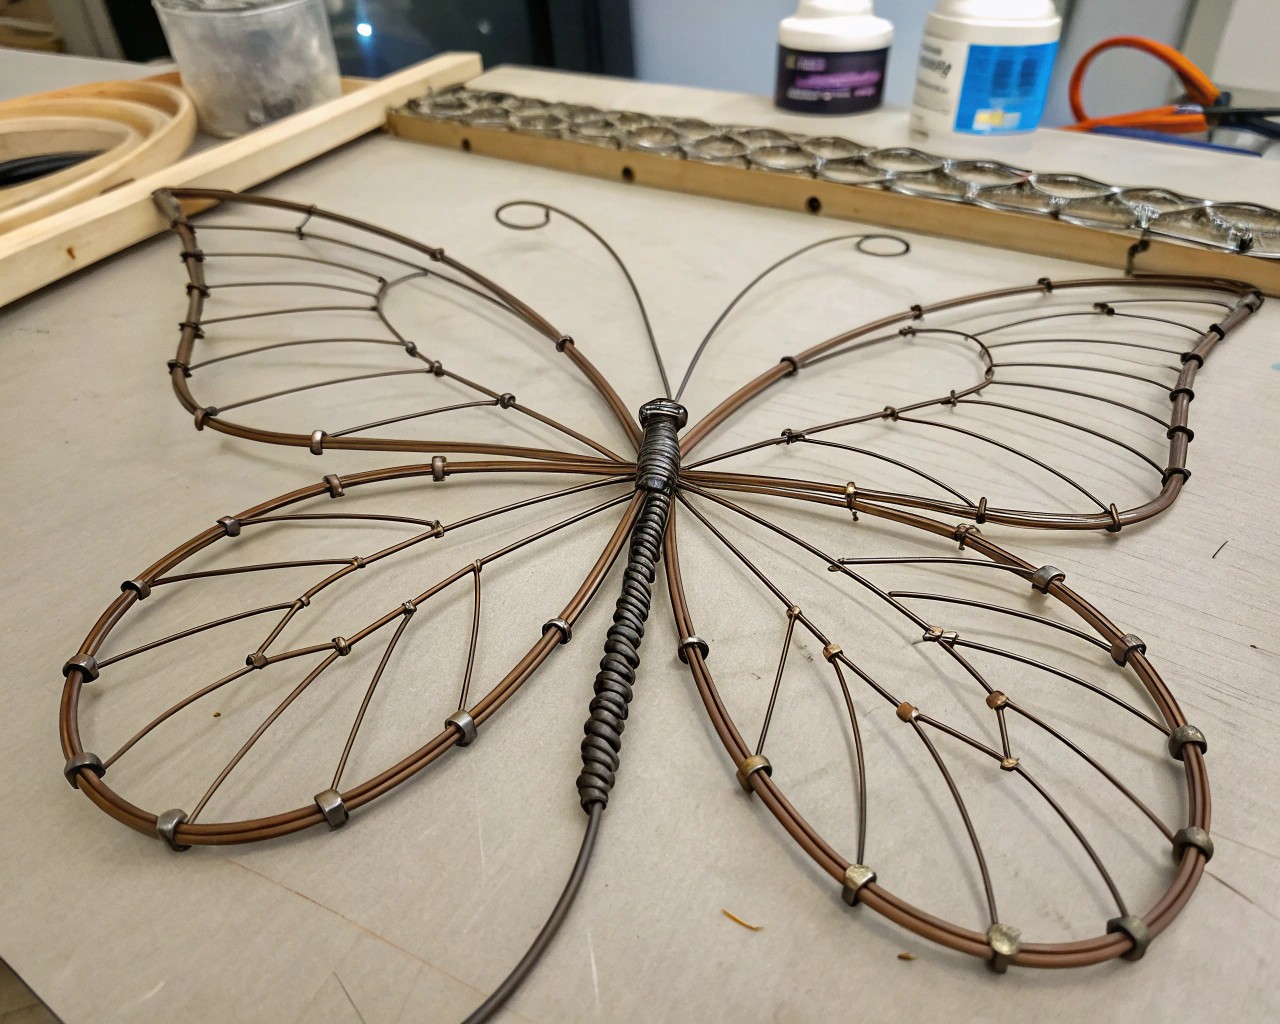
Start by sketching your wing design on paper, then transfer this pattern to create your wire frame. I recommend beginning with the outer perimeter using 20-gauge wire, leaving extra length at connection points for secure joining.
Form the basic wing shape by bending the wire gradually, avoiding sharp angles that could tear fabric later. Create smooth curves using gentle pressure rather than forcing dramatic bends. The center spine should be reinforced with doubled wire or a coat hanger insert for additional strength.
Connect the upper and lower wing sections using twisted wire joints, securing these connections with electrical tape for both strength and comfort. Remember that any exposed wire ends must be wrapped or covered to prevent injury.
Preparing Sheer Fabrics
Before attachment, treat your organza or chosen sheer fabric with stiffening spray if it feels too flimsy. This step is crucial—floppy fabric creates disappointing results that lack the crisp, ethereal quality we’re seeking.
Cut fabric pieces approximately 2 inches larger than each wing section to allow for proper attachment around the wire frame. Multiple layers create more interesting visual effects, so consider using 2-3 different sheer materials per wing section.
Painting Techniques for Light Effects
Base Layer Application
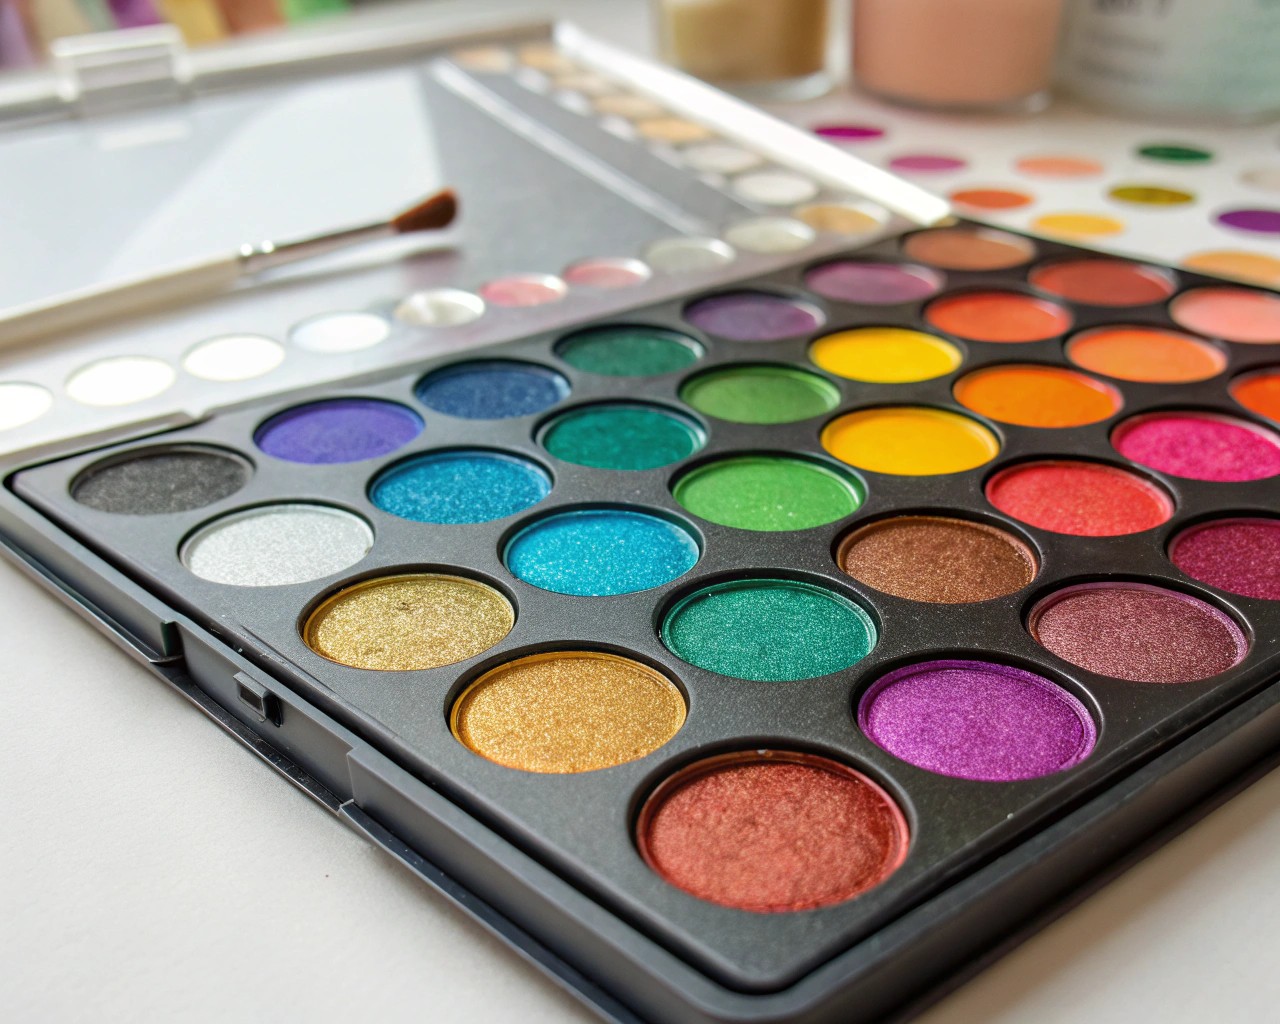
Begin with the lightest colors, using diluted acrylic paints to maintain transparency. Work in thin layers, allowing each to dry completely before adding the next. The key to successful sheer painting is restraint—too much paint destroys the translucent quality we’re trying to achieve.
Creating Dimensional Veins
Use 3D fabric paint to create wing veins that follow natural butterfly patterns. Hold the paint bottle perpendicular to the fabric surface for consistent application. These raised elements catch light differently than flat painted areas, adding authentic depth to your wings.
Apply veins in a logical pattern—main veins should branch into smaller ones, following the natural architecture of real butterfly wings. Allow 24 hours for complete curing before handling.
Iridescent Effects
Layer iridescent paints over base colors to create that coveted light-shifting effect. Interference colors work particularly well—they appear as one color when viewed straight-on but shift to complementary hues when the viewing angle changes.
For maximum impact, apply iridescent layers in thin glazes rather than opaque coverage. This maintains the underlying color while adding the shimmer effect.
Fabric Attachment Methods
Secure fabric to the wire frame using small dots of clear craft adhesive every 2-3 inches around the perimeter. Stretch the fabric gently to eliminate wrinkles while maintaining the wing’s natural curve.
Trim excess fabric, leaving approximately 1/4 inch beyond the adhesive line. This prevents fraying while ensuring the attachment remains invisible from the viewing side.
Assembly and Reinforcement
Join completed wing sections at the center using twisted wire connections. Create a U-shaped back piece that distributes weight evenly across the wearer’s shoulders. This engineering detail makes the difference between wings that are comfortable to wear and those that become burdensome quickly.
Wrap all connection points with soft fabric or foam padding to prevent discomfort during extended wear. Pay particular attention to areas that will contact the wearer’s back or shoulders.
Advanced Techniques for Professional Results
Layering Sheer Materials
Multiple sheer layers create sophisticated color interactions that single layers cannot achieve. Experiment with different combinations—a blue organza over yellow creates surprising green effects, while pink over blue yields elegant purples.
Position layers at slightly different angles to create visual texture without compromising the overall wing shape. This technique adds complexity that rewards close examination while maintaining impact from a distance.
Light Temperature Considerations
Different lighting conditions dramatically affect how your wings appear. Indoor artificial lighting emphasizes warm tones, while outdoor daylight brings out cooler colors. Plan your color palette accordingly if you know where the wings will primarily be worn.
Test your color combinations under various lighting conditions during the creation process. What appears perfect under workshop lighting may look completely different at your intended event.
Edge Finishing Techniques
Professional-looking wings require attention to edge details. Use small pieces of matching organza or tulle to create soft, finished edges that won’t catch on clothing or surroundings.
Alternatively, decorative trims like marabou feathers or metallic bias binding can create elegant finished edges while adding textural interest.
Maintenance and Storage
Proper storage extends the life of your creation significantly. Store wings flat or hanging to prevent creasing of the painted areas. Avoid folding painted sections, as this can crack dimensional paint applications.
Clean wings using a soft brush to remove dust, avoiding water contact which can affect paint adhesion. Minor repairs to wire frames can be made using additional wire and tape, while fabric tears may require patching with matching sheer material.
Safety Considerations and Best Practices
Material Safety
Always choose non-toxic paints and adhesives, particularly important when children will be wearing or around the finished wings. Verify that all materials are labeled as safe for skin contact or use appropriate barriers.
Ensure all wire ends are properly covered or wrapped to prevent injury. Sharp edges pose risks during both construction and wearing, so thorough finishing is essential.
Wearing Comfort
Design attachment systems that distribute weight evenly. Heavy wings concentrated at single points create discomfort and potential safety issues during movement.
Test fit wings during construction to identify pressure points before final assembly. Minor adjustments during building are much easier than major modifications after completion.
Durability Factors
Consider the intended use when selecting materials. Wings for a single indoor event have different requirements than those intended for multiple outdoor appearances.
Weather resistance becomes crucial for outdoor events—choose paints and adhesives rated for humidity and temperature variations if necessary.
Troubleshooting Common Issues
Paint Application Problems
If dimensional paint spreads unexpectedly, the fabric may need additional stiffening treatment. Allow current applications to dry completely, then apply stiffening spray and retry.
Uneven paint coverage often results from working too quickly. Take time between layers, allowing complete drying for professional results.
Structural Issues
Sagging wings typically indicate insufficient wire gauge or poor joint construction. Reinforce problem areas with additional wire rather than attempting quick fixes that may fail during use.
Wire fatigue shows up as gradual shape loss over time. Address these issues promptly to prevent complete structural failure.
Attachment Difficulties
If wings feel unstable during wear, the distribution system likely needs adjustment. Add additional attachment points rather than simply tightening existing ones, which can create uncomfortable pressure spots.
Creative Variations and Adaptations
Scale Adaptations
These techniques work equally well for smaller fairy wings or larger dramatic costume pieces. Adjust wire gauge and fabric weight proportionally—larger wings need stronger support structures while smaller ones can use lighter materials.
Seasonal Themes
Autumn wings might incorporate warm oranges and golds with leaf-pattern stenciling, while winter versions could use cool blues and silvers with snowflake motifs. Spring designs naturally lend themselves to fresh greens and floral patterns.
Skill Level Modifications
Beginners should start with simple shapes and basic paint techniques, building complexity as confidence grows. Advanced crafters can experiment with multiple wire layers, complex paint interactions, and innovative attachment systems.
The beauty of this project lies in its scalability—even simple versions create magical effects when light catches the painted sheer layers. Each pair of wings becomes unique through the maker’s individual choices and techniques, ensuring that your creation will be as individual as the butterfly that inspired it.
Whether for costume parties, theatrical productions, or imaginative play, these light-catching butterfly wings bring a touch of natural magic to any occasion. The combination of structural engineering and artistic expression makes this project both technically satisfying and visually stunning—truly worthy of the magnificent creatures that inspired their creation.

