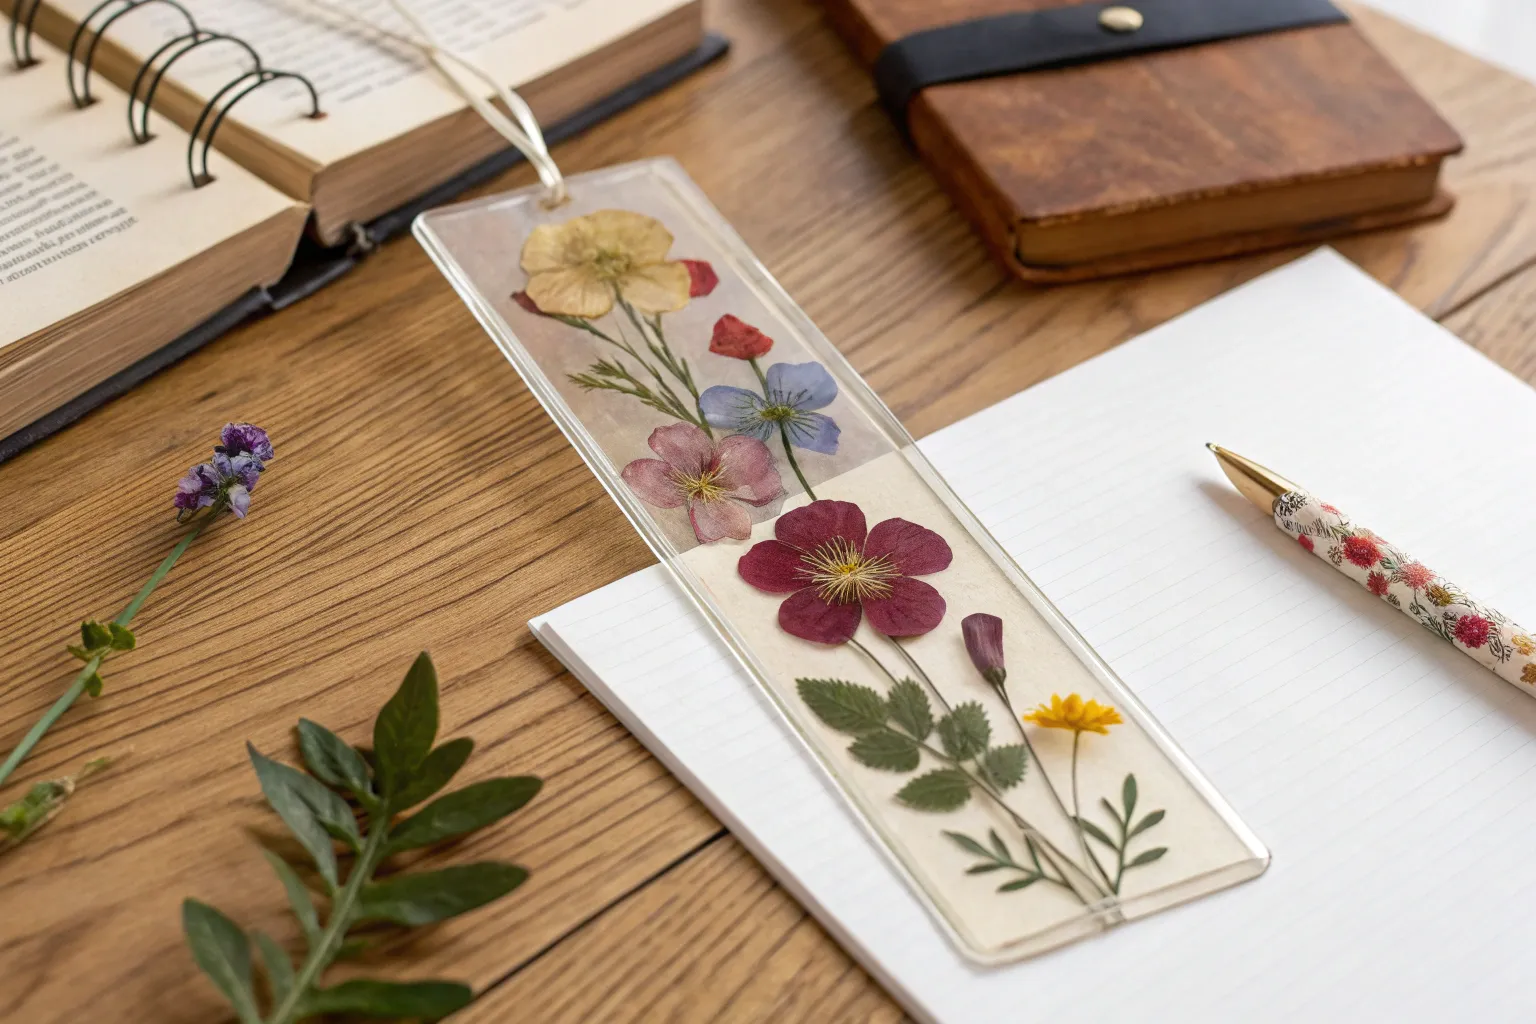
Creating your own pressed flower bookmarks transforms nature’s fleeting beauty into lasting reading companions. This comprehensive guide will walk you through crafting bookmarks that capture botanical specimens between their pages, preserving flowers while marking your place in your favorite books.
Essential Materials for Pressed Flower Bookmarks
Paper Selection
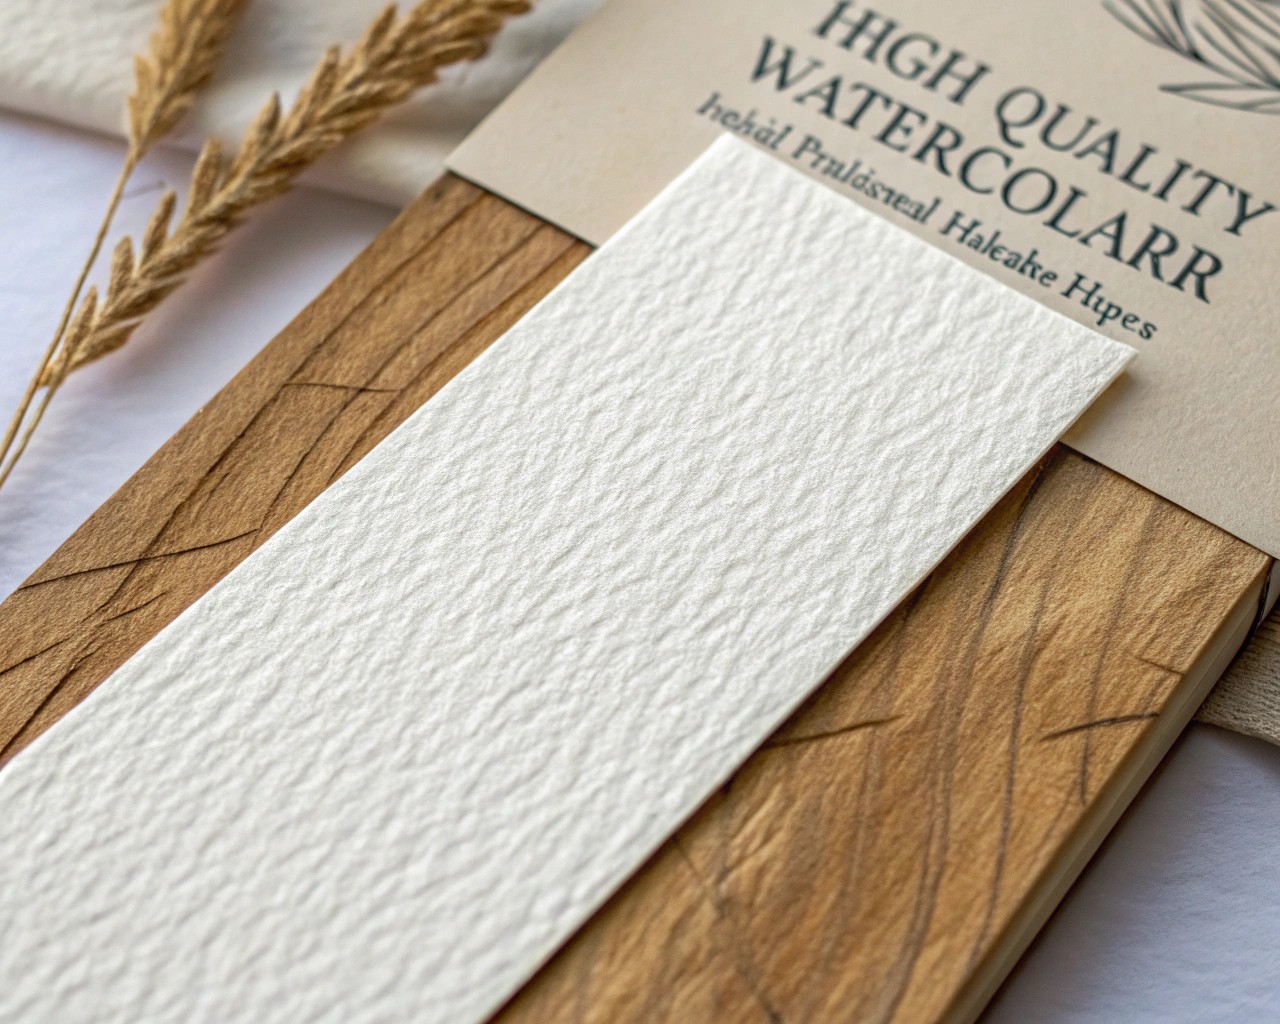
The foundation of any quality bookmark lies in choosing the right paper. Watercolor paper serves as the ideal substrate due to its substantial weight and absorbent properties. Opt for 140-pound (300gsm) cold-pressed watercolor paper, which provides sufficient thickness to prevent warping while maintaining flexibility for book use. The paper’s absorbent nature helps wick moisture away from pressed flowers during the preservation process.
For professional results, cut your watercolor paper to standard bookmark dimensions: 2 inches by 6 inches for most books, or 2 inches by 7 inches for larger volumes. These proportions ensure your bookmark extends beyond the book’s pages while remaining proportional and functional.
Flower Pressing Supplies
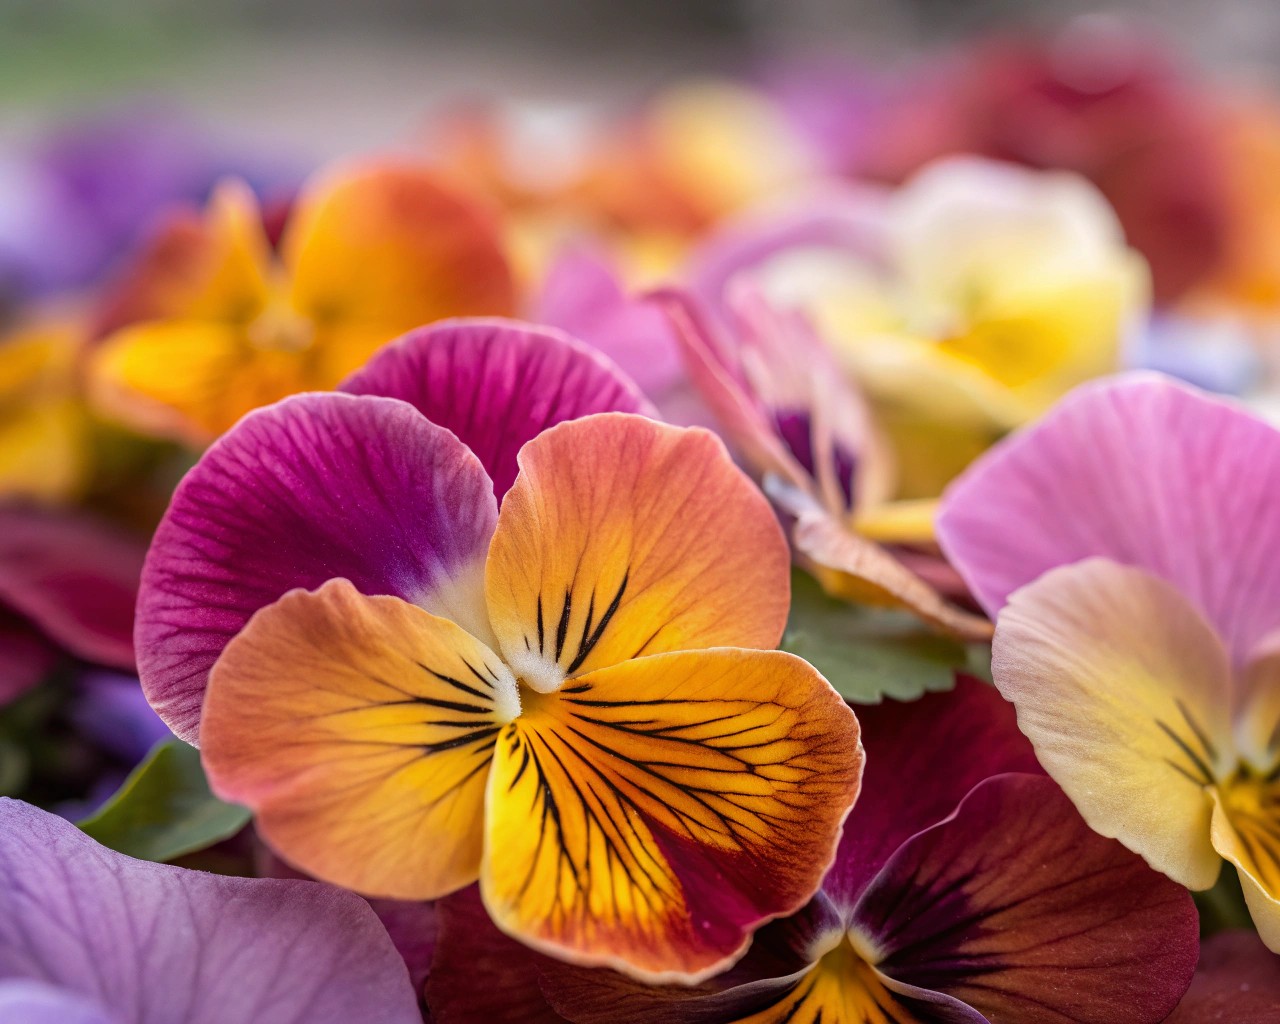
Fresh flowers form the heart of your project. Select blooms at their peak freshness, ideally picked in the morning after dew has evaporated but before the day’s heat causes wilting. The best candidates for pressing include:
- Pansies and violets: Flat faces with vibrant colors that retain well
- Daisies and cosmos: Simple, open faces with thin petals
- Lavender: Maintains color and fragrance when dried
- Baby’s breath: Delicate texture with quick drying time
Avoid thick, fleshy flowers like roses or peonies unless you separate the petals individually.
Preservation Materials
Mod Podge serves as both adhesive and sealant, creating a protective barrier that prevents flower deterioration. Choose matte finish Mod Podge to avoid unwanted shine that might interfere with reading. You’ll also need fine tweezers for delicate flower placement and a soft paintbrush for precise adhesive application.
For the pressing process itself, gather heavy books, parchment paper, and absorbent materials like watercolor paper or blotting paper. The key is creating consistent pressure while allowing moisture to escape.
The Science Behind Flower Pressing
Understanding the biological processes involved in flower preservation enhances your success rate significantly. Fresh flowers contain 60-70% water, which must be removed to prevent decay. The pressing process achieves this through controlled dehydration under pressure, which flattens cellular structures while preserving color compounds.
Moisture control represents the critical success factor. Flowers retain their color best when pressed immediately after picking, before cellular breakdown begins. The ideal pressing environment maintains low humidity with good air circulation, preventing mold formation that can destroy your specimens.
Temperature also influences preservation quality. Room temperature pressing (65-72°F) allows gradual moisture removal without shocking the plant tissues, while higher temperatures can cause rapid color loss.
Advanced Pressing Techniques
Book Pressing Method
The traditional book method remains highly effective for beginners. Place flowers face-down between parchment paper sheets, then insert between heavy book pages. Stack additional books on top for consistent pressure, leaving flowers undisturbed for 2-4 weeks depending on thickness.
I’ve found that changing the absorbent paper every few days during the first week significantly improves color retention and prevents mold formation. This extra step requires patience but produces markedly superior results.
Microwave Pressing for Quick Results
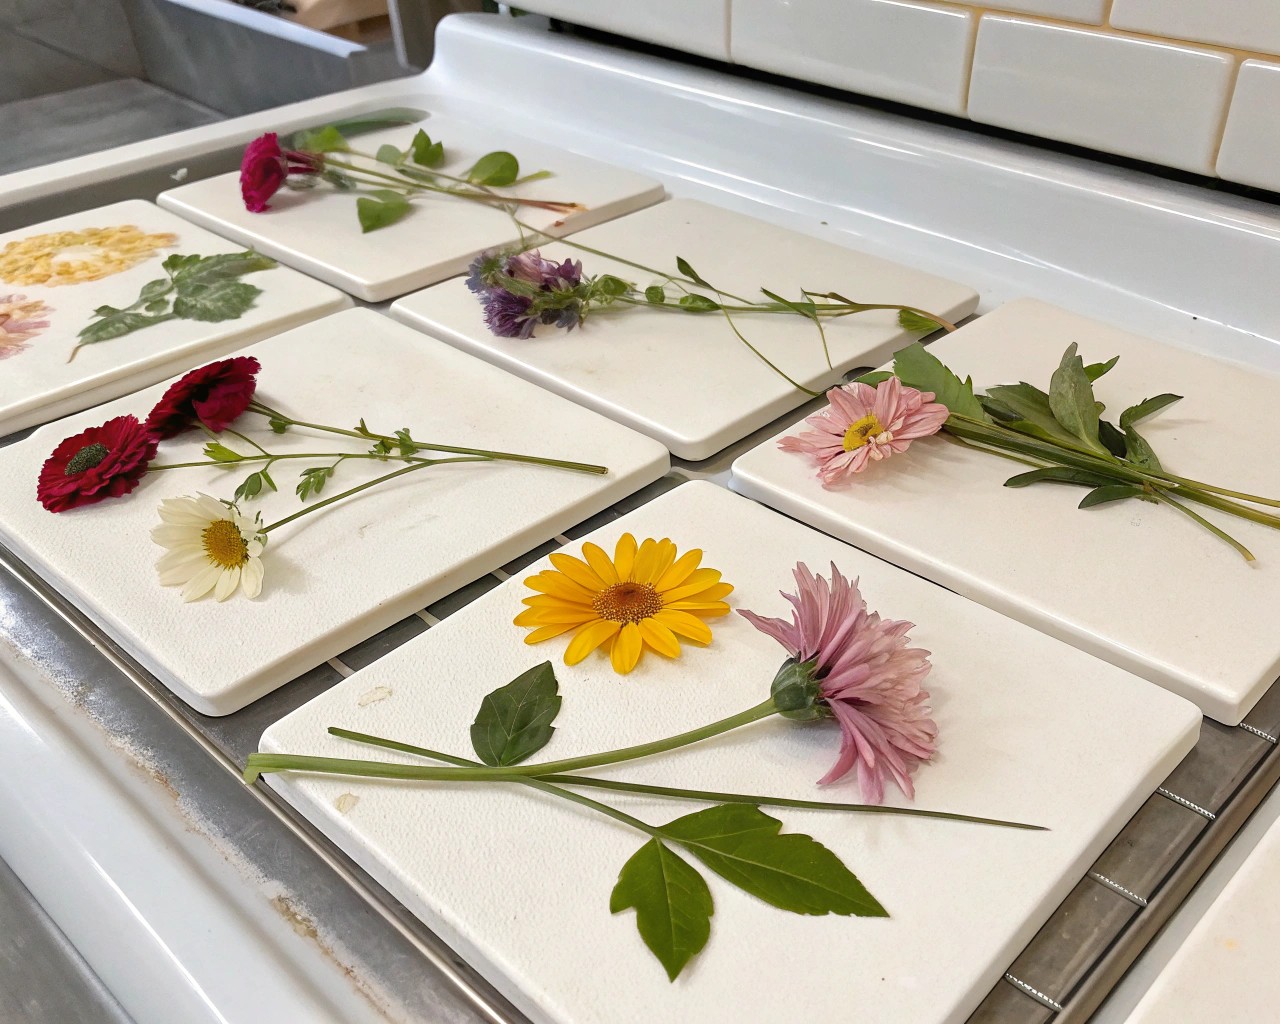
For faster processing, microwave pressing offers excellent color preservation in minutes rather than weeks. Place flowers between parchment paper, then between ceramic tiles secured with rubber bands. Microwave in 30-second intervals, checking frequently to prevent overheating.
This method works particularly well for delicate flowers that might lose color during traditional pressing. However, it requires careful monitoring to prevent burning or over-drying.
Silica Gel Method
Professional-grade results come from using silica gel crystals, which actively absorb moisture while supporting flower structure. Bury flowers completely in fine silica gel within an airtight container, leaving for 4-7 days depending on flower thickness.
The silica method excels at preserving three-dimensional structure while maintaining vibrant colors, making it ideal for more complex flower arrangements.
Bookmark Assembly Process
Paper Preparation
Begin by cutting your watercolor paper to precise dimensions using a sharp craft knife and metal ruler. Sand lightly with fine-grit sandpaper if needed to create uniform texture. Clean the surface with a tack cloth to remove any debris that might interfere with adhesion.
Flower Arrangement Strategy
Before applying any adhesive, arrange your pressed flowers on the bookmark surface to establish your design. Consider visual balance, with larger flowers serving as focal points and smaller specimens providing supporting detail. Leave adequate space around edges to prevent flowers from extending beyond the bookmark boundaries.
Use tweezers exclusively for flower handling, as oils from fingers can cause discoloration over time. Plan your composition with the understanding that once placed, flowers become difficult to reposition without damage.
Adhesive Application Technique
Apply Mod Podge sparingly using a fine brush, working in thin, even coats. Paint adhesive directly onto the paper where each flower will sit, rather than on the flower itself. This approach prevents over-saturation that could cause transparency loss or bleeding.
Place flowers immediately after adhesive application, pressing gently but firmly to eliminate air bubbles. Work quickly but deliberately, as Mod Podge begins setting within minutes.
Sealing Process
Once all flowers are positioned, allow 15-20 minutes for initial setting. Then apply a thin topcoat of Mod Podge over the entire surface, using light brush strokes to avoid disturbing the flowers. This final layer provides UV protection and prevents moisture infiltration.
Finishing Touches and Enhancement
Hole Placement and Punching
Position the hole 1/4 inch from the top center of your bookmark for optimal balance. Use a standard single-hole punch for clean, consistent results. For multiple bookmarks, create a paper template to ensure uniform hole placement.
The hole serves both functional and aesthetic purposes, providing attachment for tassels while creating visual interest in the design composition.
Tassel Creation and Attachment
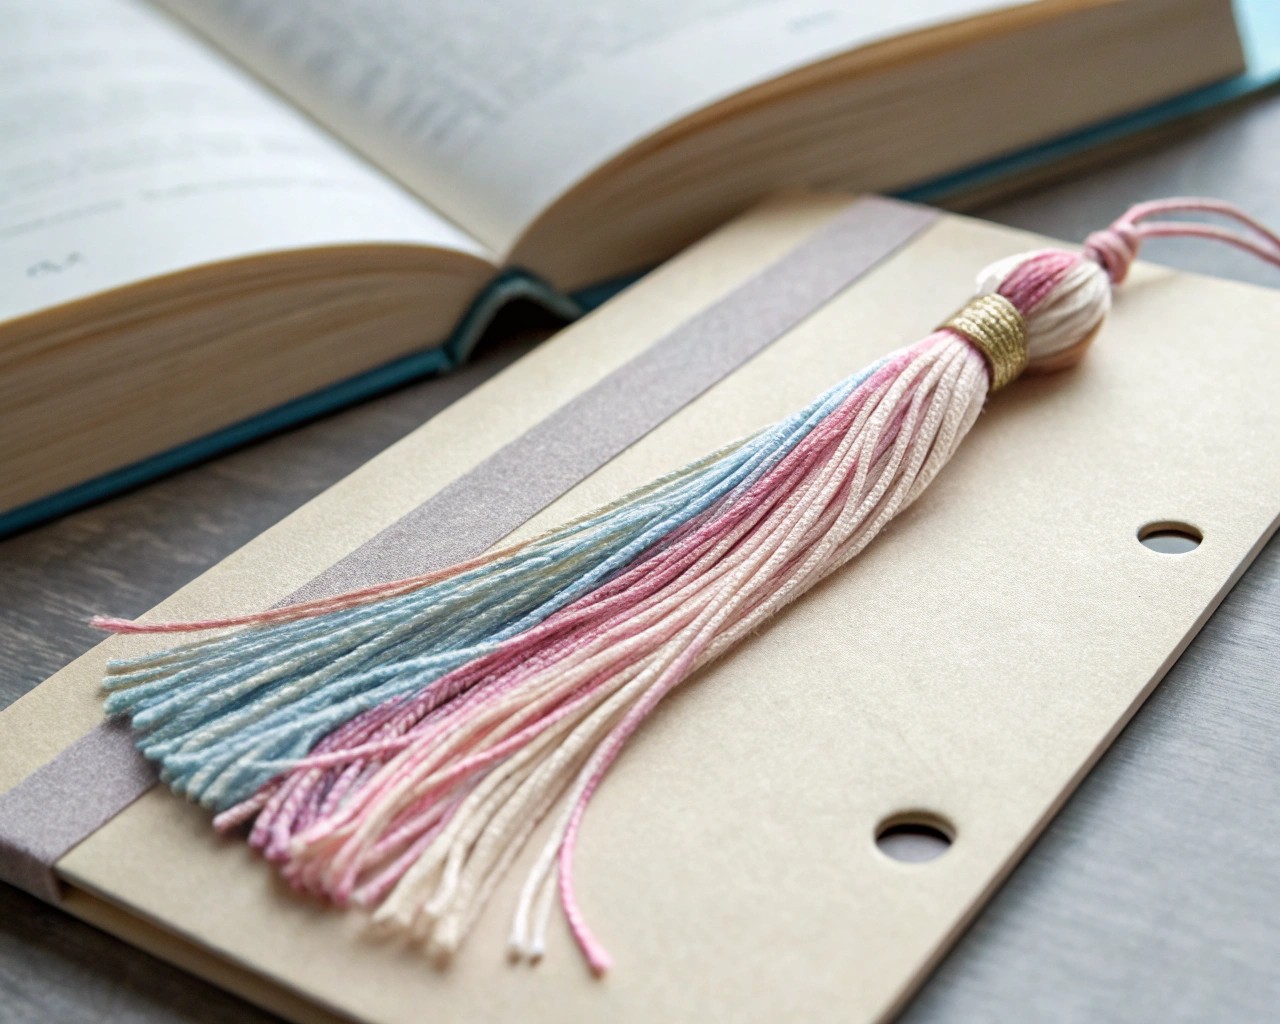
Handmade tassels add professional finishing touches to pressed flower bookmarks. Cut twelve 7-inch lengths of embroidery floss or thin yarn for the tassel body. Create a 3-inch twisted cord for the attachment loop using two 36-inch strands twisted together until they naturally coil upon themselves.
Thread the loop through the bookmark hole, then bundle the tassel strands and secure them to the loop with additional wrapping thread. Trim the tassel ends to uniform 1.25-inch length for professional appearance.
Protective Lamination Options
For bookmarks receiving heavy use, consider lamination for enhanced durability. Self-laminating sheets provide excellent protection while maintaining flexibility. Position the bookmark carefully within the laminating pouch, ensuring adequate borders on all sides.
Run the sealed pouch through a laminator twice for complete adhesion, then trim excess material leaving a small border around the bookmark. The laminated surface can be wiped clean and resists moisture damage indefinitely.
Design Principles and Aesthetic Considerations
Color Theory Application
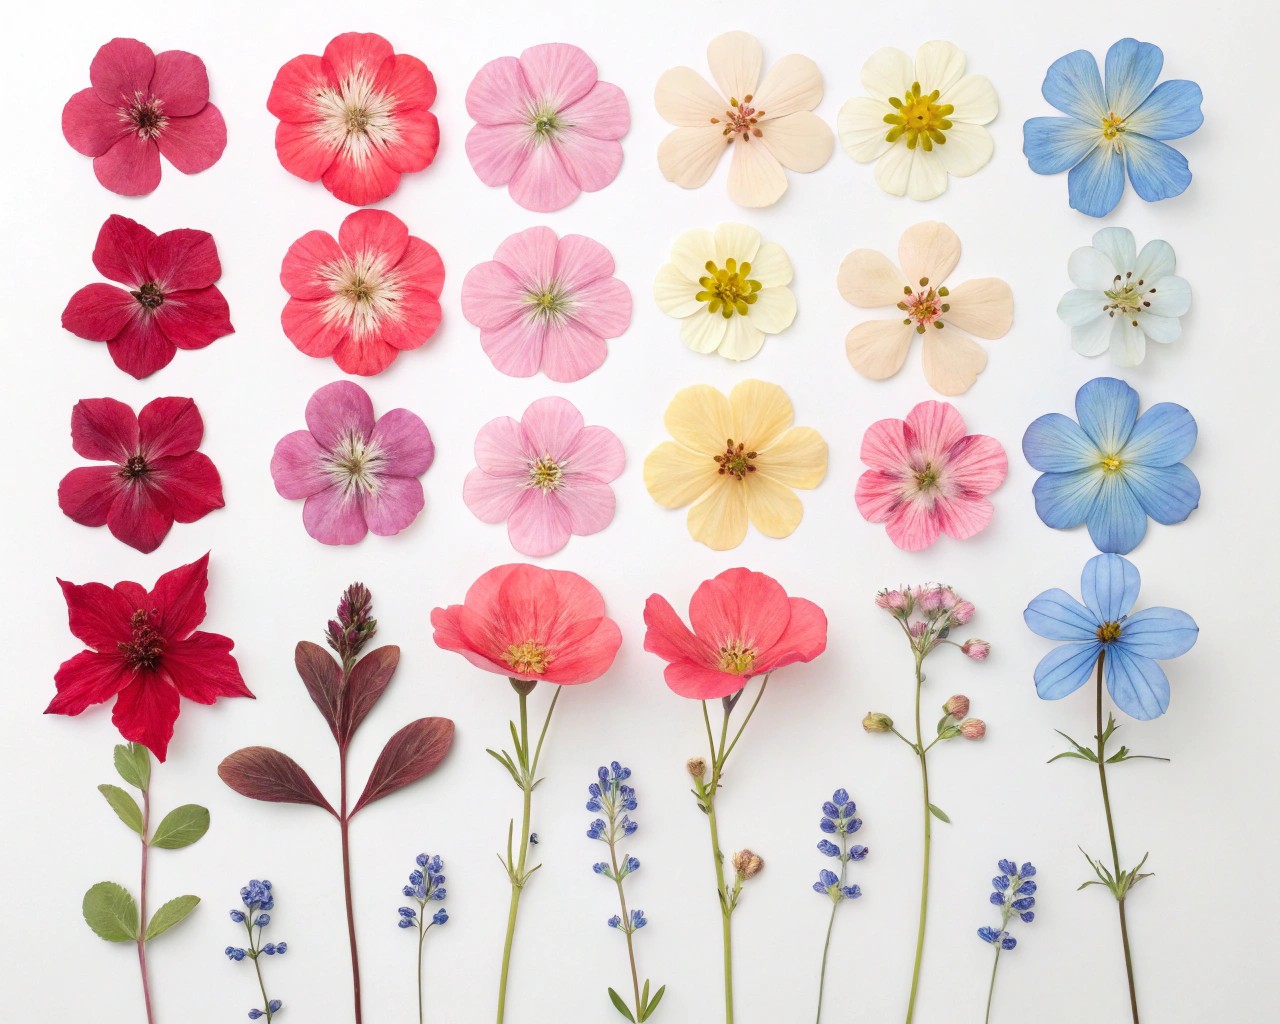
Understanding color relationships enhances bookmark appeal significantly. Complementary colors (opposite on the color wheel) create vibrant contrast, while analogous colors provide harmonious, soothing effects. Consider the books where you’ll use these bookmarks—bright colors suit cheerful novels, while muted tones complement serious literature.
Pressed flowers naturally shift in color during preservation, with whites becoming cream or amber, and bright colors deepening in tone. Plan your compositions accounting for these predictable changes.
Compositional Balance
Apply the rule of thirds by positioning primary focal points along imaginary lines dividing the bookmark into thirds. This creates more dynamic, visually interesting designs than centered arrangements.
Layer flowers of different sizes and textures, using larger specimens as anchors and smaller elements as supporting details. Maintain visual weight distribution to prevent the design from appearing top-heavy or unbalanced.
Troubleshooting Common Issues
Preventing Mold and Discoloration
Mold represents the primary threat to pressed flower projects. Ensure flowers are completely dry before pressing, and change absorbent papers frequently during the first week. If brown spots appear, they usually indicate insufficient drying time or excessive moisture exposure.
Store finished bookmarks in low-humidity environments away from direct sunlight to prevent fading. Silica gel packets placed near storage areas help maintain optimal conditions.
Addressing Adhesion Problems
If flowers lift or separate from the bookmark surface, insufficient adhesive coverage likely caused the issue. Reapply Mod Podge beneath loose edges using a fine brush, then press firmly until set.
Avoid over-diluting Mod Podge, which reduces its bonding strength. Use straight from the container for maximum adhesion.
Creative Variations and Advanced Techniques
Seasonal Theme Development
Create bookmark series reflecting different seasons using appropriate flower selections. Spring bookmarks might feature violets and early daffodils, while autumn versions could incorporate colorful leaves and late-blooming asters.
Document the collection location and date for each flower specimen, creating personal botanical records alongside functional bookmarks.
Mixed Media Integration
Combine pressed flowers with watercolor backgrounds, creating subtle washes that complement the natural specimens. Apply watercolor first, allow complete drying, then add pressed flowers as the final layer.
Fine-line botanical illustrations can enhance pressed flower designs, adding scientific accuracy and artistic sophistication.
Gift and Commercial Applications
Pressed flower bookmarks make exceptional personalized gifts for readers, teachers, and nature enthusiasts. Create themed sets for weddings, graduations, or other special occasions using flowers from the event location.
For commercial applications, develop consistent branding through uniform dimensions, hole placement, and tassel colors while varying the flower arrangements for individuality.
Long-term Care and Storage
Properly crafted pressed flower bookmarks can last for decades with appropriate care. Store unused bookmarks between acid-free tissue paper in a cool, dry location. Avoid plastic storage containers that can trap moisture and promote mold growth.
During use, handle bookmarks by their edges rather than touching the flower surfaces directly. This prevents oil transfer that can cause gradual deterioration over time.
The intersection of botanical preservation and functional craft creates bookmarks that serve dual purposes—marking your reading progress while celebrating nature’s ephemeral beauty. Each bookmark becomes a unique artifact, capturing specific moments in time through carefully preserved botanical specimens.
Through mastering these techniques, you’ll create bookmarks that transform everyday reading into encounters with preserved natural beauty, making each book opening a small celebration of the botanical world around us.

