Creating your own confetti cones from handmade paper transforms a simple wedding tradition into an artisanal masterpiece. These elegant accessories not only add personal charm to your celebration but also provide guests with the perfect vessel for showering you with biodegradable confetti during that magical exit moment.
Materials and Tools
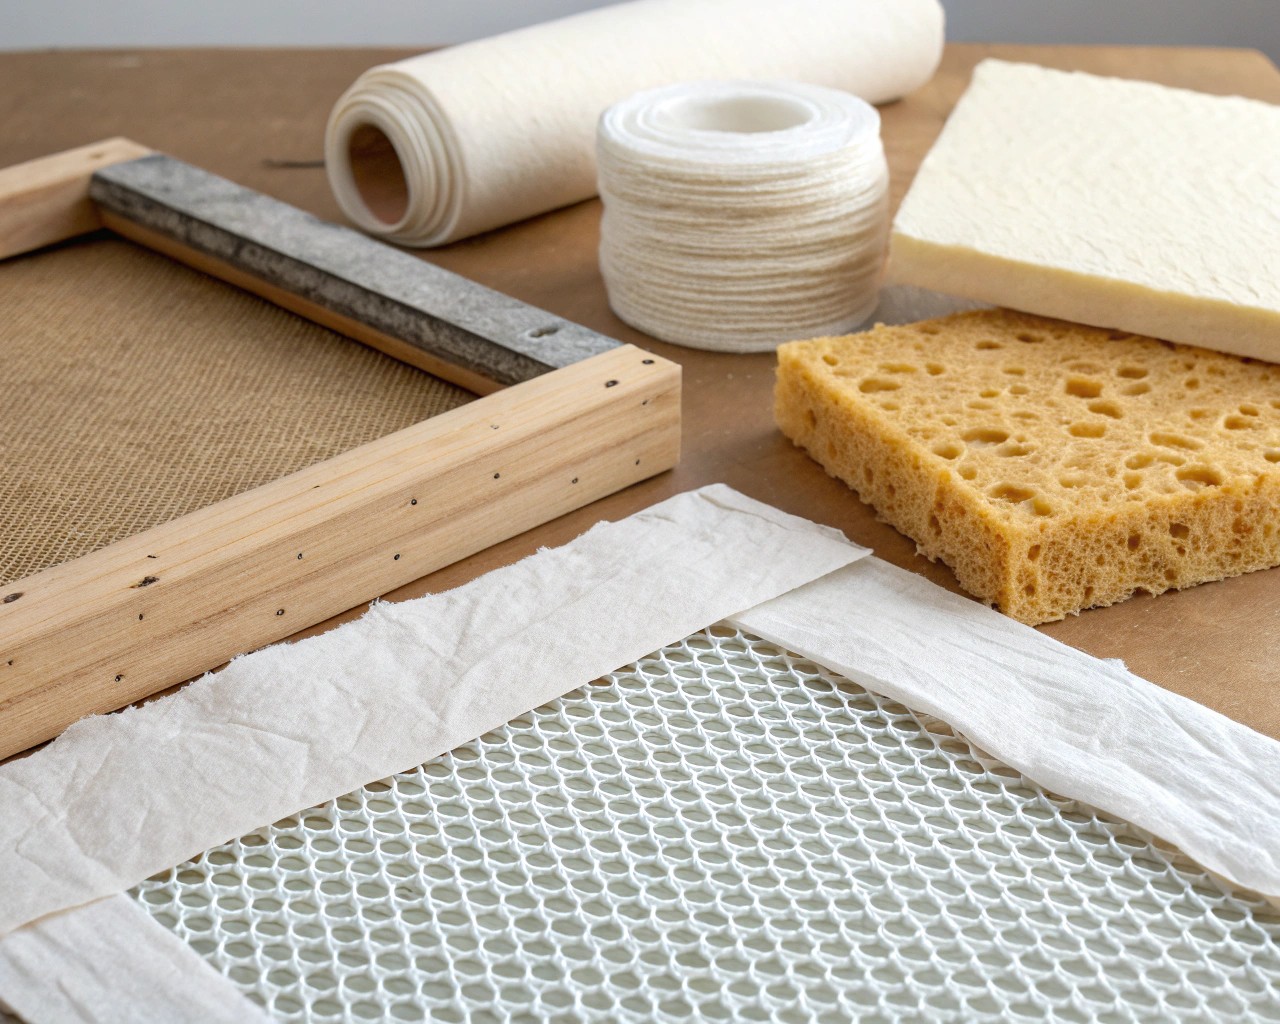
For Handmade Paper:
- Recycled paper (old receipts, junk mail, scrap paper)
- Blender (dedicated to crafting)
- Large plastic storage tub for soaking and mixing
- Mould and deckle (purchase or DIY with picture frames and window screen)
- Cotton cloths or towels for pressing
- Sponge for moisture removal
For Gold Details:
- Gold leaf sheets or transfer gold leaf
- Water-based gilding adhesive or Mod Podge
- Small paintbrushes for precise application
- Tweezers for handling delicate gold leaf
- Gold foil transfer sheets as an alternative
For Cone Assembly:
- Double-sided tape or glue stick
- Scissors or craft knife
- Ruler and pencil for measurements
- Decorative elements (ribbon, twine, stickers)
Creating Your Handmade Paper
Step 1: Prepare the Paper Pulp
Start by cutting or tearing your recycled paper into approximately 1-inch squares. The choice of source material significantly impacts your final product’s character and strength. Drawing paper, watercolor paper, and quality copy paper create the strongest results, while office paper and junk mail work well for decorative applications.
Soak the paper pieces in water for several hours or overnight. This softening process is crucial for achieving smooth pulp. The longer soaking time reduces the need for extensive blending and creates more uniform fiber distribution.
Step 2: Create the Pulp
Fill your blender with soaked paper and enough water to cover completely. Blend on high speed for 1-2 minutes until the mixture reaches a soup-like consistency. I find that blending in smaller batches produces more consistent results than attempting to process large quantities at once.
For enhanced durability, consider adding a small amount of wheat paste or gelatin during the blending process. These natural sizing agents strengthen the paper fibers and improve the final product’s resilience – particularly important for confetti cones that need to maintain their shape when filled.
Step 3: Form the Paper Sheets
Fill your large tub one-third full with clean water, then add approximately 3 cups of pulp. The pulp-to-water ratio determines thickness – experiment with your first few sheets to achieve the desired weight. Too much pulp creates thick, difficult-to-work paper, while too little results in fragile sheets.
Insert your mould and deckle at a 45-degree angle into the bottom of the container, then lift straight up, allowing excess water to drain. The key to uniform thickness lies in maintaining steady, confident movements during this crucial step.
Step 4: Press and Dry
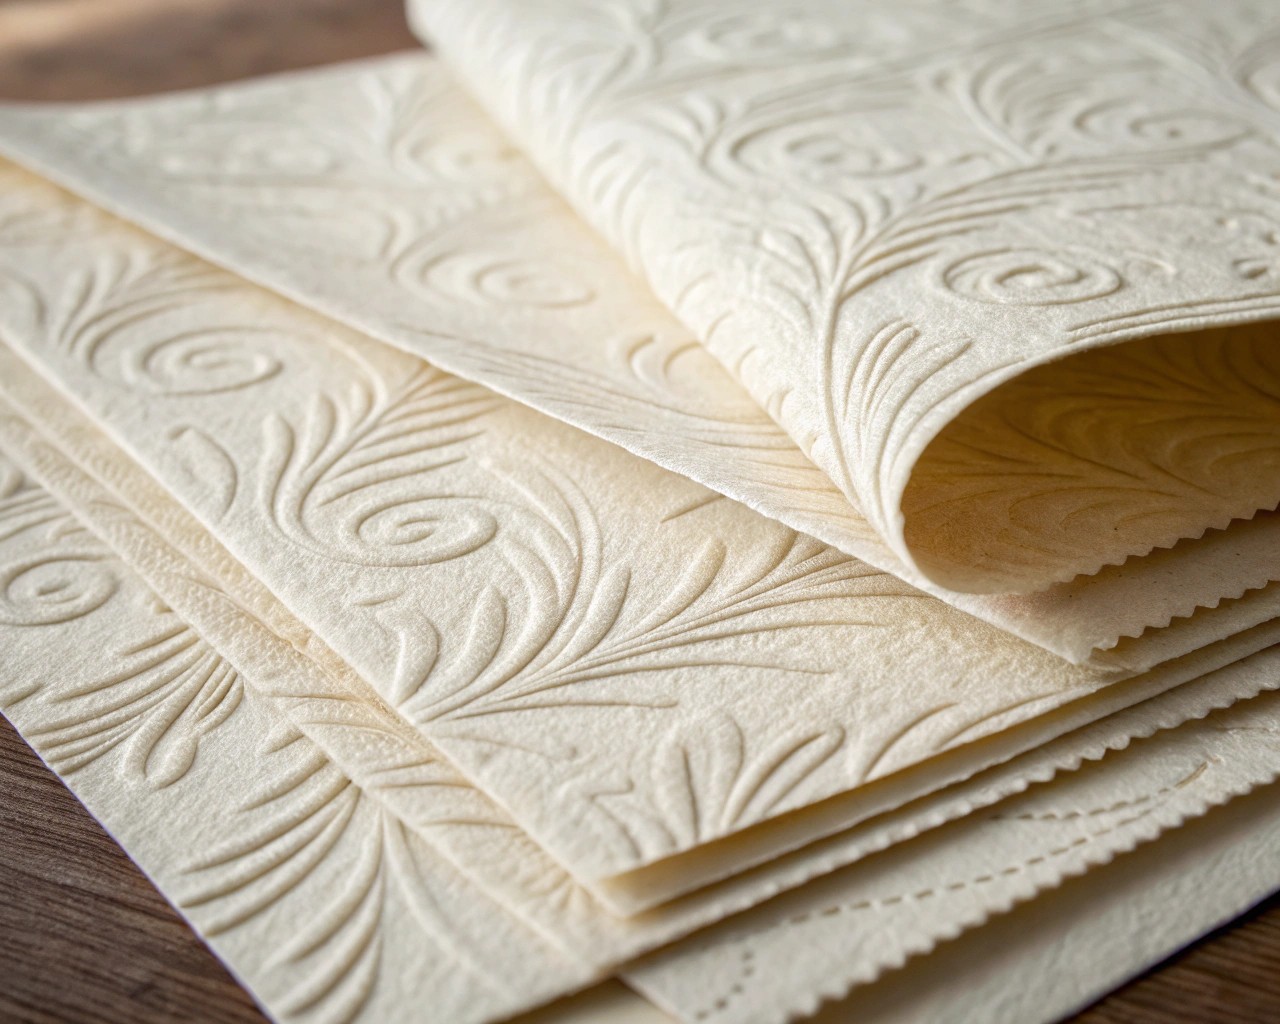
Transfer the wet paper sheet onto a cotton cloth or towel using gentle pressure. Place another cloth on top and press firmly to remove excess moisture. The traditional method involves pressing between heavy books overnight, followed by air drying.
For textured effects, experiment with different drying techniques. Air-drying without pressing creates organic, uneven textures, while pressing between textured materials like window screen or fabric imparts subtle patterns.
Applying Gold Details
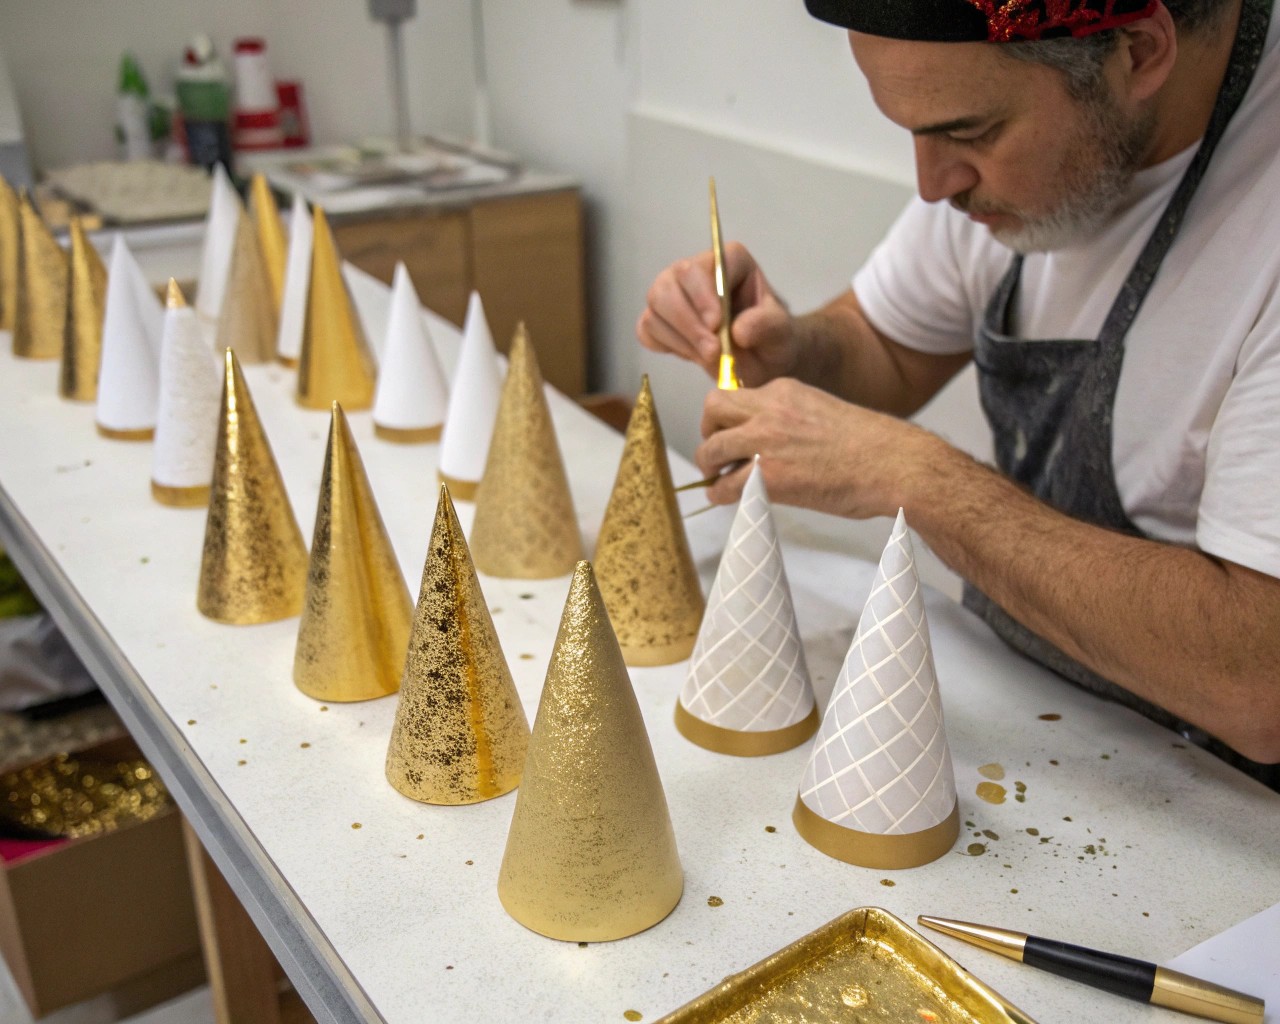
Method 1: Traditional Gold Leaf Application
Gold leafing elevates handmade paper from rustic to luxurious. Begin by sketching your desired design lightly in pencil. Apply water-based gilding adhesive using a small brush, following your design carefully. The adhesive should cover only areas intended for gold – any covered surface will accept the leaf.
Allow the adhesive to dry until it reaches a tacky consistency (typically 4-5 minutes). This timing is critical – too wet and the gold won’t adhere properly, too dry and it won’t stick at all.
Using tweezers, carefully place the gold leaf over the tacky adhesive. Transfer leaf works better for beginners, as it’s easier to handle than loose leaf. Gently press the gold into place using a soft brush or cloth, then carefully remove excess leaf.
Method 2: Gold Foil Transfer Technique
For more forgiving application, gold foil transfer sheets offer an excellent alternative. Apply a thin layer of Mod Podge to your design areas and allow it to dry until slightly tacky. Place the foil shiny-side up over the adhesive and burnish gently with your finger or a bone folder.
The advantage of this method lies in its ability to cover missed spots – simply reapply foil to any areas that didn’t transfer completely. This technique particularly suits intricate designs or lettering applications.
Design Ideas for Gold Accents
Consider these sophisticated approaches:
- Rim gilding: Apply gold around the cone’s opening for elegant definition
- Monogram details: Add initials or wedding dates in gilded script
- Decorative borders: Create delicate gold lines or patterns
- Scattered accents: Apply small gold elements randomly for organic sparkle
Constructing the Confetti Cones
Cone Template and Sizing
Create templates in multiple sizes to accommodate different occasions. Standard dimensions include:
- Small cones: 6″ x 6″ squares creating approximately 8″ tall cones
- Large cones: 8″ x 8″ squares creating approximately 12″ tall cones
The cone shape significantly affects both appearance and functionality. A longer, more gradual taper creates elegant proportions and slower, more controlled confetti distribution.
Assembly Technique
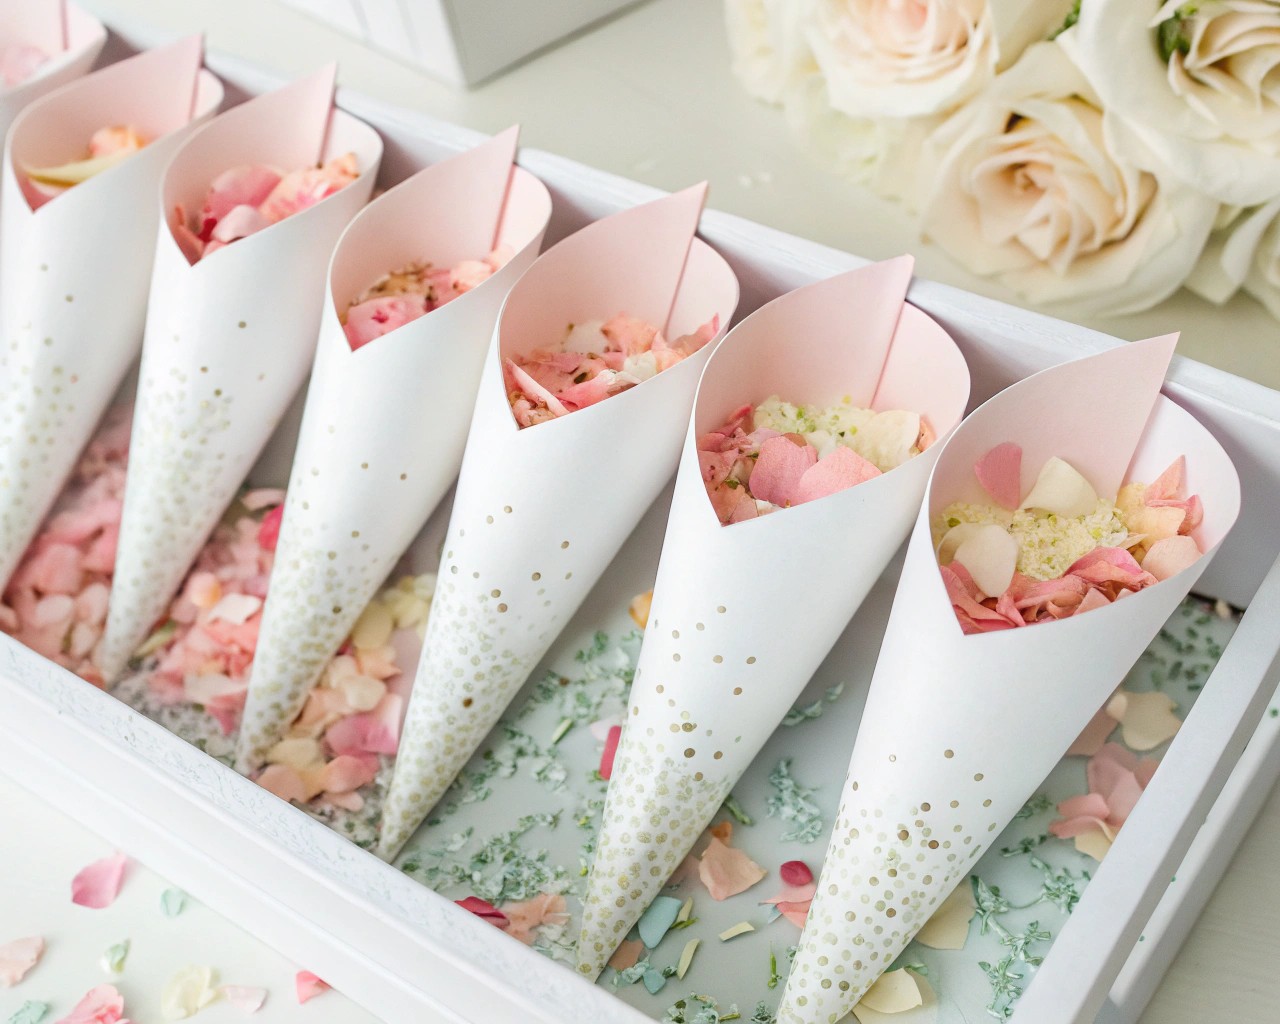
Begin with square pieces of your handmade paper. Identify one corner as your cone point and gently fold one side over to create the initial cone shape. The key to professional results lies in pre-folding the paper to establish clean lines before applying adhesive.
Apply double-sided tape or glue stick along one edge, leaving a small gap at the pointed end to prevent buckling. Roll the cone firmly, ensuring the point remains sharp and the seam aligns properly. Hold pressure for 30 seconds to ensure secure bonding.
Strengthening and Stability Tips
Structural Reinforcement
Handmade paper can benefit from additional strengthening measures. During the papermaking process, incorporate longer fibers by adding small amounts of cotton rag or linen. These materials significantly improve tensile strength without compromising the handmade aesthetic.
For completed cones requiring extra stability, apply a light coat of diluted PVA glue to the interior surfaces. This treatment hardens the paper structure while maintaining flexibility for assembly.
Storage and Handling
Proper storage prevents warping and damage. Store flat cones between sheets of acid-free tissue paper in a dry environment. Humidity significantly affects handmade paper – maintain consistent conditions to prevent unwanted curling or softening.
Creative Embellishment Ideas
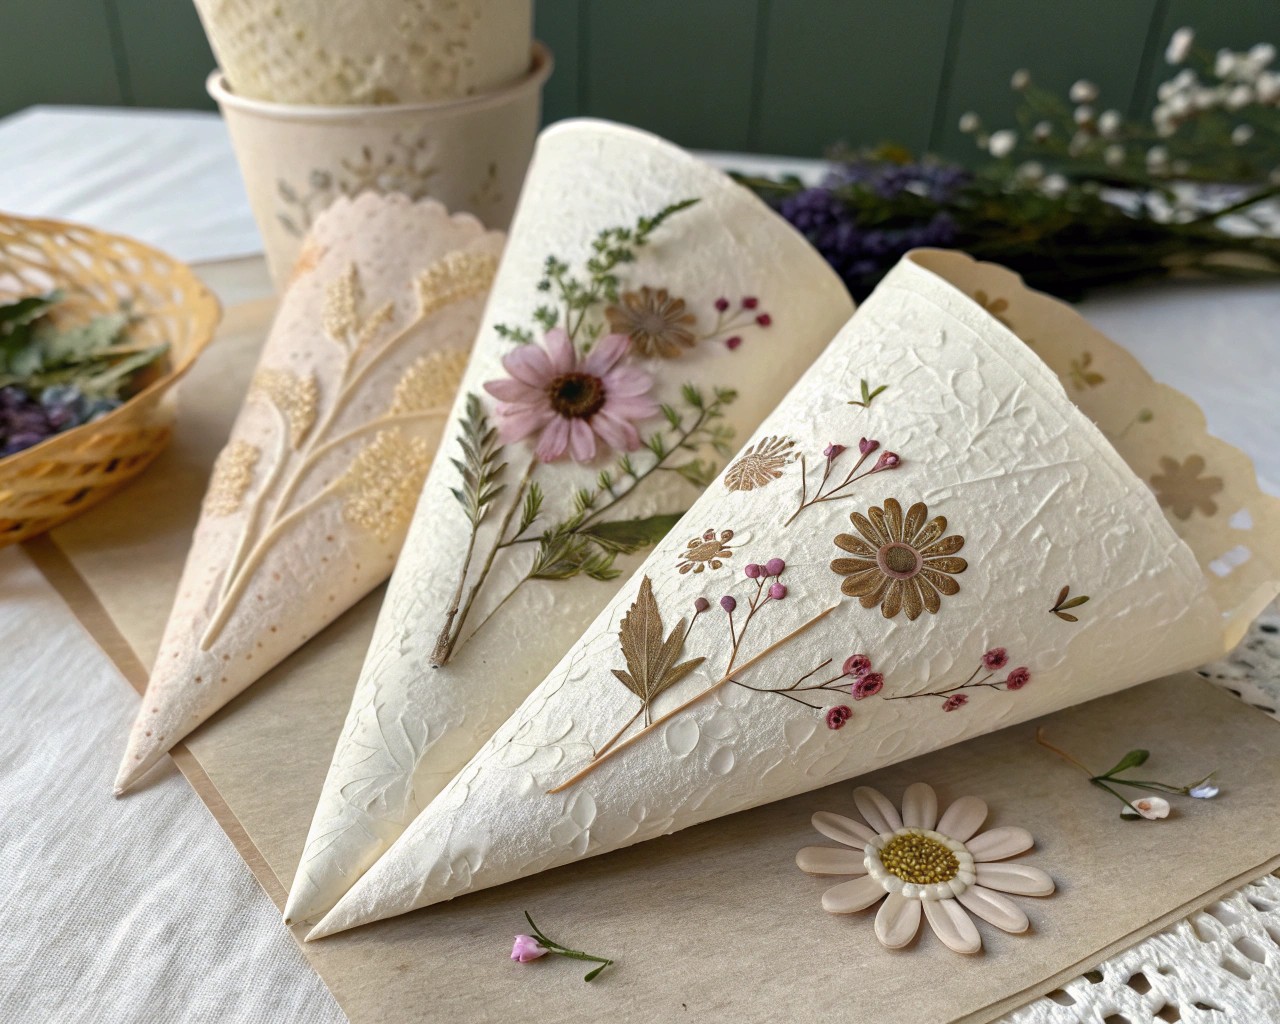
Natural Elements
Incorporate dried flowers or leaves into the paper pulp during formation for embedded botanical details. Press small petals or herbs between damp paper sheets for subtle, organic decoration that complements outdoor ceremonies.
Textural Variations
Experiment with different texturing techniques during the papermaking process:
- Stenciled patterns: Place stencils over wet paper during pressing for crisp designs
- Fabric impressions: Press textured fabrics into damp paper for subtle surface interest
- String textures: Lay string or cord over wet paper before pressing for linear elements
Color Integration
Add food coloring to the paper pulp for subtle background tints, or apply watercolor washes to dried paper for gradient effects. Tea or coffee staining creates vintage appearances that pair beautifully with gold accents.
Display and Presentation
Professional Display Options
Create cohesive presentation stations that enhance your wedding aesthetic:
Wooden Crate Display: Arrange filled cones upright in vintage wooden crates with instructional signage. This rustic approach suits outdoor or barn weddings perfectly.
Frame Station: Remove glass from large picture frames and string brown twine across the opening. Attach cones with wooden clothespins for an interactive, Instagram-worthy display.
Basket Arrangements: Use wicker baskets for traditional presentations, allowing bridesmaids to circulate and distribute cones personally.
Filling Guidelines
One liter of biodegradable confetti typically fills 10 standard cones adequately. Avoid overfilling – cones should contain enough confetti for a satisfying throw without becoming unwieldy or prone to spillage.
Consider using tissue paper to fill the bottom half of larger cones. This technique creates visual fullness while conserving confetti and maintaining proper weight distribution.
Troubleshooting Common Issues
Paper Strength Problems
If your handmade paper feels too fragile, the issue typically stems from insufficient pulp processing or inadequate pressing. Increase blending time to create more uniform fiber distribution, and ensure adequate pressure during the pressing stage.
Adding natural sizing agents like wheat paste during pulp preparation significantly improves final strength. Apply sizing solution to finished sheets as a secondary strengthening measure if needed.
Gold Application Challenges
Uneven gold coverage usually results from improper adhesive application or timing. Maintain consistent adhesive thickness and allow proper drying time before applying gold leaf. For problem areas, carefully remove failed sections and reapply following proper timing protocols.
Assembly Difficulties
Cones that won’t hold their shape often suffer from inadequate adhesive coverage or poor paper preparation. Ensure complete edge coverage with glue and pre-fold paper to establish clean assembly lines before applying adhesives.
Cost-Effective Tips
Creating handmade paper confetti cones costs approximately 15 cents per cone when using recycled materials. Compare this to purchasing pre-made decorative cones, which typically cost $1.25 per cone or more.
Source materials creatively: collect junk mail, use misprinted office paper, or partner with local print shops for paper scraps. Many businesses discard quality paper that works perfectly for handmade paper projects.
Purchase gold leaf in larger quantities for better value, and remember that a little goes far – one book of gold leaf can accent dozens of cones when applied thoughtfully.
Sustainability Considerations
Handmade paper confetti cones align perfectly with eco-conscious celebrations. Using recycled paper diverts waste from landfills while creating something beautiful. Choose biodegradable confetti options like dried flower petals or natural paper confetti to complete your sustainable approach.
Gold leaf, while luxurious, requires minimal quantities for maximum impact, making it a sustainable choice for special occasions. Consider using brass or copper leaf alternatives for similar effects at lower costs and environmental impact.
Final Thoughts
Creating confetti cones from handmade paper with gold details transforms a simple wedding element into an artisanal statement piece. The process rewards patience and attention to detail with results that reflect personal craftsmanship and elevate any celebration.
I’ve found that guests particularly appreciate the tangible quality of handmade items – they can feel the care and effort invested in each piece. These cones often become keepsakes long after the confetti has been thrown, serving as lasting reminders of your special day.
The combination of sustainable practices, cost-effectiveness, and personalized beauty makes this project ideal for couples seeking meaningful ways to incorporate handmade elements into their celebrations. Take time to experiment with different techniques and embrace the subtle variations that make handmade items truly special.

