Creating an accordion book transforms scattered memories into a tangible treasure that unfolds like a story. I’ve found these compact, expandable books offer an intimate way to preserve precious moments while giving you complete creative control over every fold and page.
Understanding the Accordion Book Appeal

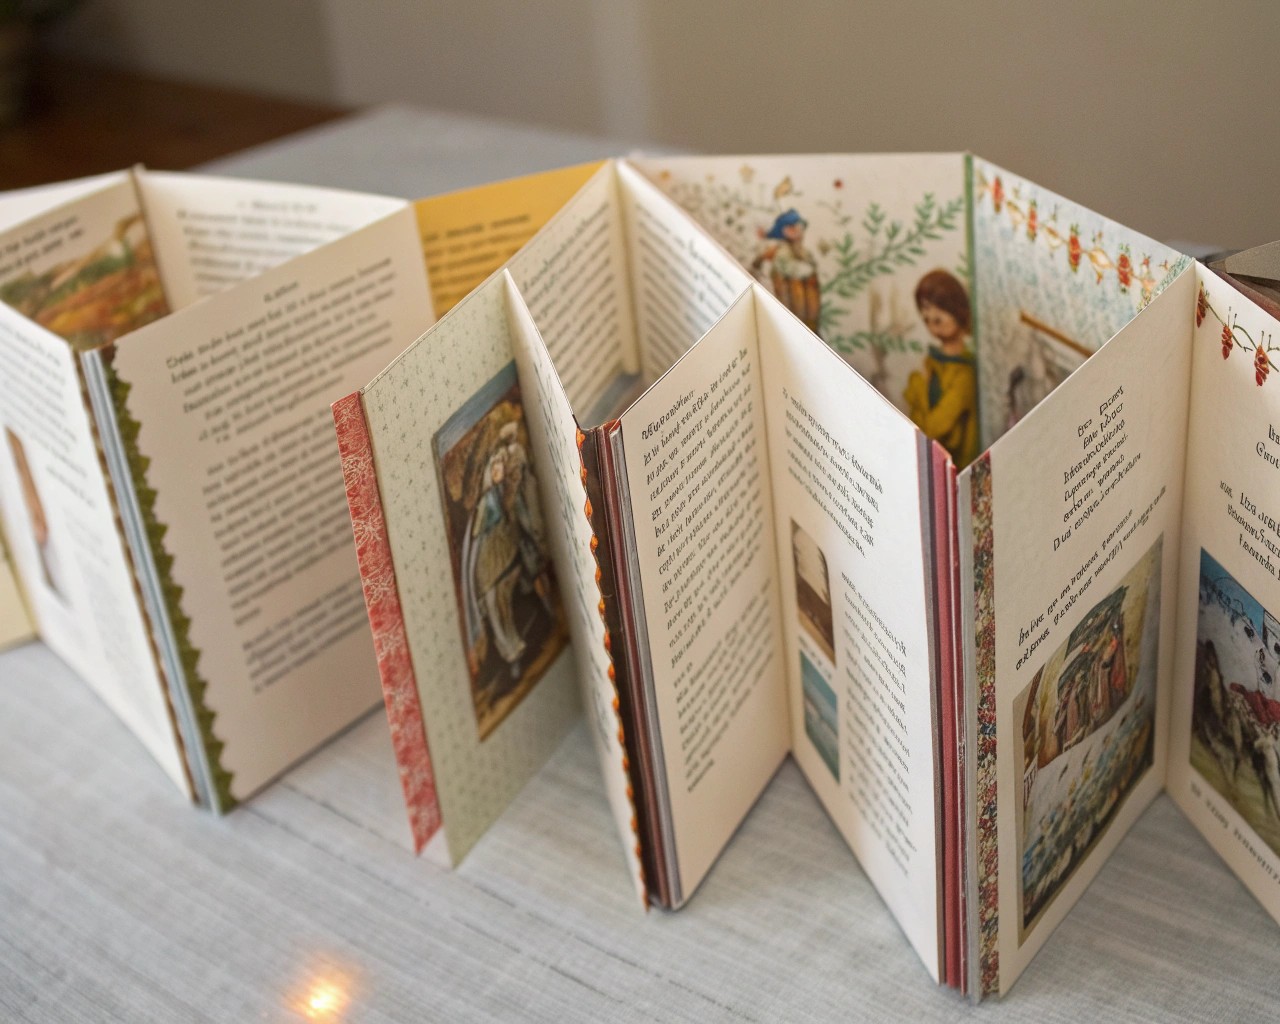
Accordion books, also known as concertina books, represent one of the most elegant and accessible forms of memory keeping. Unlike traditional bound books, they consist of a single continuous strip of paper folded in zigzag fashion, creating pages that can be viewed individually or displayed as one cohesive panorama. This unique structure makes them particularly suited for telling sequential stories, documenting milestones, or creating themed collections of memories.
The format’s versatility extends beyond simple photo albums. These books can serve as travel journals, family histories, gift books for special occasions, or artistic explorations. Their compact nature when closed makes them perfect for sharing, while their ability to stand accordion-style creates an impressive display piece.
Essential Materials and Tools
Paper Selection
The foundation of any quality accordion book lies in proper paper selection. For memory keeping projects, I recommend using acid-free, archival-quality materials to ensure longevity. Your choice should consider both the book’s intended use and your budget:
For the Main Pages:
- Medium-weight cardstock (80-120 gsm) works well for most projects
- Watercolor paper like Saunders Waterford or Arches provides excellent durability for mixed media
- Drawing paper (60-80 lb) offers affordability while maintaining quality
For Covers:
- Chipboard or Davey board (approximately 3″ x 4.5″) provides sturdy protection
- Decorative scrapbook paper or fabric for covering
- Cardstock for simpler projects
Adhesives and Binding Materials
Choose PVA glue or acid-free glue sticks for archival quality. Some crafters prefer Nori paste for its slower drying time, allowing repositioning. For enhanced durability, consider double-sided tape or spray mount for specific applications.
Tools Required
| Essential Tools | Purpose |
|---|---|
| Metal ruler (12-18 inches) | Measuring and cutting guide |
| Craft knife or utility knife | Clean, precise cuts |
| Bone folder (or plastic alternative) | Sharp, professional creases |
| Cutting mat | Surface protection |
| Awl or piercing tool | Creating holes for binding |
| Scissors | General cutting tasks |
Additional Supplies
- Clips or weights for drying
- Foam brush for glue application
- Pencil and eraser for marking
- Wax paper to prevent sticking during drying
Step-by-Step Construction Guide
Phase 1: Planning and Preparation
Determine Your Book Size
Standard accordion books typically measure 3″ x 4″, 4″ x 6″, or 5″ x 7″. Consider your photos and intended content when selecting dimensions. Remember to plan for an even number of panels to ensure proper cover placement.
Calculate Paper Requirements
For a basic 8-panel book measuring 4″ x 6″, you’ll need:
- One strip 32″ x 6″ for pages (can be created by joining shorter pieces)
- Two cover boards 4″ x 6″
- Decorative paper cut 1/4″ larger than covers on all sides
Phase 2: Creating the Accordion Structure

Prepare Your Paper Strip
If using multiple pieces, join them with a 1/2″ overlap using acid-free adhesive. Allow to dry completely before proceeding.
Mark and Score Fold Lines
1. Measure and mark every 4 inches along your strip
2. Use a bone folder against a metal ruler to score each line
3. Score along the paper grain for optimal folding
Create the Accordion Folds
1. Begin with the first fold, bringing one end to meet the first score line
2. Fold back on itself at the next score line, creating a “W” shape
3. Continue alternating fold directions to maintain the accordion pattern
4. Maintain perpendicularity using a quilting ruler or triangle
Phase 3: Cover Construction
Prepare Cover Boards
Cut two pieces of chipboard or heavy cardstock to your desired size. Sand edges lightly if using thick board material.
Cover the Boards
1. Cut decorative paper 1/4″ larger than boards on all sides
2. Apply adhesive to paper center and position board
3. Miter corners at 45-degree angles to reduce bulk
4. Fold and adhere paper edges, smoothing with bone folder
Attach Covers to Accordion
1. Apply adhesive to the back of first and last panels
2. Center and press onto inside of covers
3. Use heavy books or press to ensure strong bond
Creative Design and Personalization Techniques
Memory-Focused Design Elements
Thematic Organization
Structure your accordion book around specific themes: family milestones, travel experiences, seasonal memories, or personal achievements. This approach creates narrative coherence while allowing for creative expression.
Photo Integration Strategies
– Matting photos on contrasting cardstock creates professional presentation
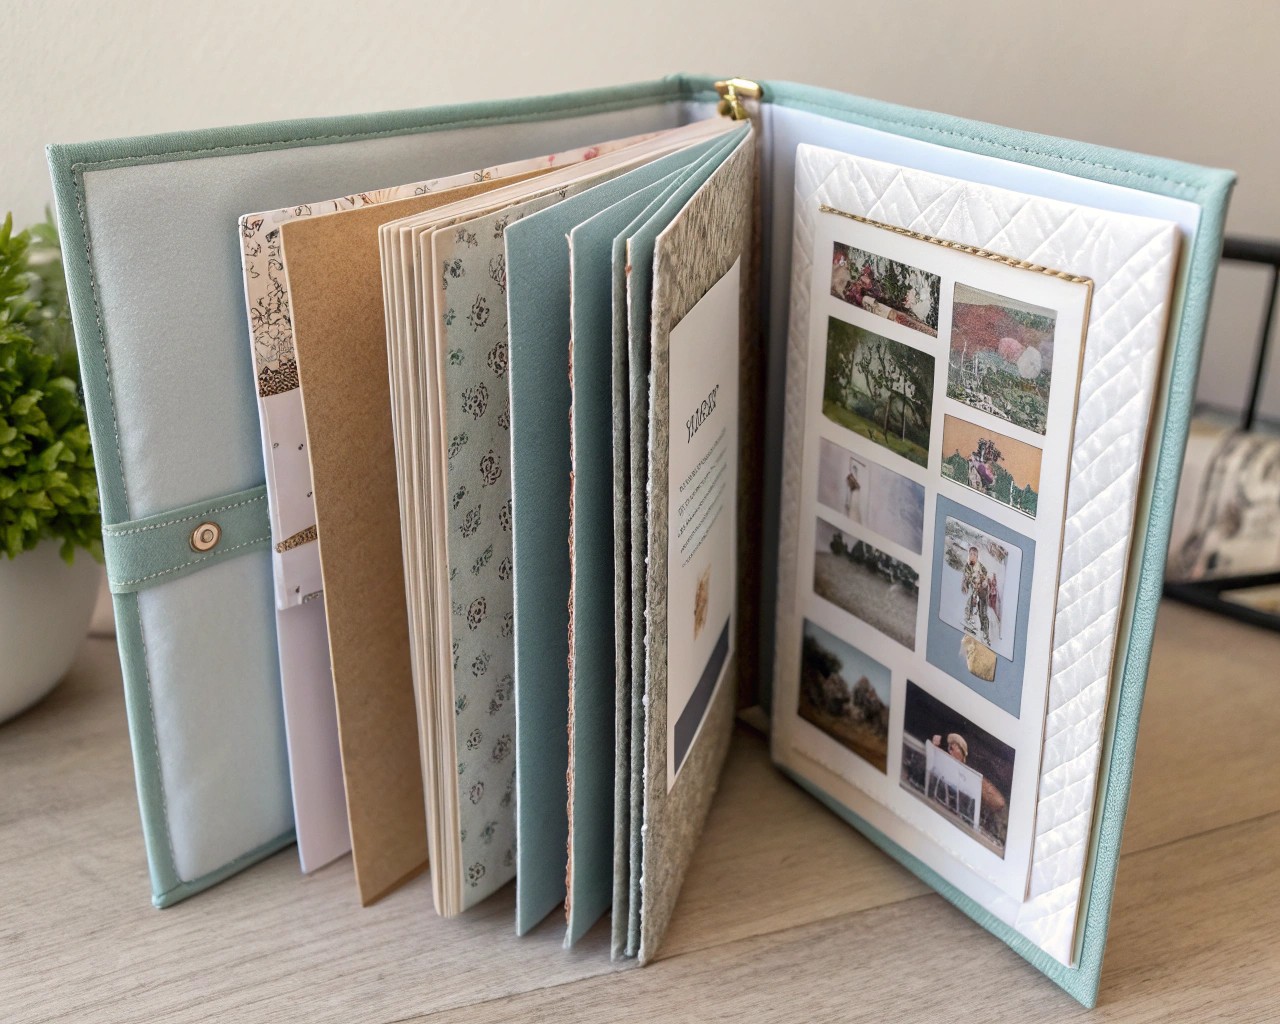
– Varying photo sizes (2″ x 2″, 3″ x 4″, 4″ x 6″) adds visual interest
– Creating photo mosaics using grid patterns enhances smaller images
Interactive Elements

Pockets and Flaps
Incorporate small pockets for storing memorabilia like ticket stubs, pressed flowers, or handwritten notes. Create these by folding sections of pages or adding separate pocket pieces.
Fold-Out Sections
Design pages with hidden elements that unfold to reveal additional content. This technique works particularly well for timeline presentations or before-and-after comparisons.
Mixed Media Applications
– Journaling spaces for written memories and reflections
– Decorative elements like washi tape, stickers, or hand-drawn borders
– Stamping and embossing for texture and visual appeal
Color and Composition Guidelines
Establishing Visual Harmony
Choose a cohesive color palette of 3-4 colors that complement your photos. Consider the emotional tone you want to convey – warm colors for celebratory themes, cool colors for peaceful memories, or neutral tones for timeless elegance.
Creating Visual Flow
Plan your layout to guide the viewer’s eye across pages. Use repetitive elements like borders, shapes, or color blocks to create rhythm. Balance busy, detailed pages with simpler, rest areas for the eye.
Archival Preservation Techniques
Material Selection for Longevity
Understanding Archival Quality
True archival materials must be acid-free, lignin-free, and pH-neutral. These characteristics prevent yellowing, brittleness, and chemical migration that can damage photos over time.
Quality Indicators to Look For
| Material Type | Archival Requirements |
|——————|————————-|
| Papers | PAT (Photographic Activity Test) certified |
| Adhesives | pH-neutral, reversible |
| Storage materials | Buffered or unbuffered as appropriate |
| Decorative elements | Fade-resistant, non-reactive |
Storage and Handling Best Practices
Environmental Considerations
Store completed books in stable, cool, dry conditions away from direct sunlight. Use acid-free storage boxes or slip cases for additional protection.
Handling Guidelines
Always handle books with clean, dry hands. Support the spine when opening, and avoid placing excessive weight on open pages. For frequently viewed books, consider creating protective page sleeves from archival plastic materials.
Troubleshooting Common Challenges
Structural Issues
Uneven Folds
If folds appear crooked or uneven, check that you’re scoring along the paper grain and using consistent pressure. Re-score problematic areas and use a bone folder to sharpen creases.
Page Warping
Excessive moisture from adhesives can cause warping. Use minimal amounts of glue and allow thorough drying time between steps. Press under heavy books during drying to maintain flatness.
Cover Attachment Problems
Ensure adequate drying time before handling. If covers detach, clean old adhesive completely before reattaching with fresh glue.
Design Challenges
Overcrowded Pages
Remember that less is often more in memory keeping. Leave white space for visual breathing room and focus on the most meaningful elements rather than trying to include everything.
Color Coordination Issues
If your design feels disjointed, introduce a unifying element like a consistent border color, repeating shape, or standardized photo matting throughout the book.
Gifting and Presentation Ideas
Occasion-Specific Approaches
Wedding and Anniversary Books
Create timeline presentations showing relationship milestones, or design books focusing on specific themes like “Our Adventures” or “Reasons I Love You”.
Family Memory Books
Document children’s growth, family traditions, or multi-generational stories. Include handwriting samples, artwork, or recorded messages for added personalization.
Travel Documentation
Organize by destination, activity type, or chronological journey. Include maps, currency, or cultural artifacts alongside photos.
Presentation Enhancement
Protective Packaging
Create custom boxes or pouches using coordinating materials. Include care instructions and perhaps space for future additions.
Accompanying Materials
Consider including a companion piece like a matching bookmark, photo corners for future additions, or a small envelope of themed stickers.
Creating an accordion book for memory keeping offers a perfect balance of accessibility and sophistication. The format’s inherent flexibility allows both beginners and experienced crafters to create meaningful keepsakes while its expandable nature provides generous space for storytelling. Whether preserving family milestones, documenting adventures, or creating heartfelt gifts, these miniature memory books transform ordinary moments into treasured legacies that can be shared, displayed, and cherished for generations to come.
The key to success lies in thoughtful planning, quality materials, and attention to the small details that make each book uniquely meaningful. Start with simple designs and gradually incorporate more complex elements as your confidence grows – after all, the most important aspect isn’t technical perfection, but the love and memories you fold into every page.

