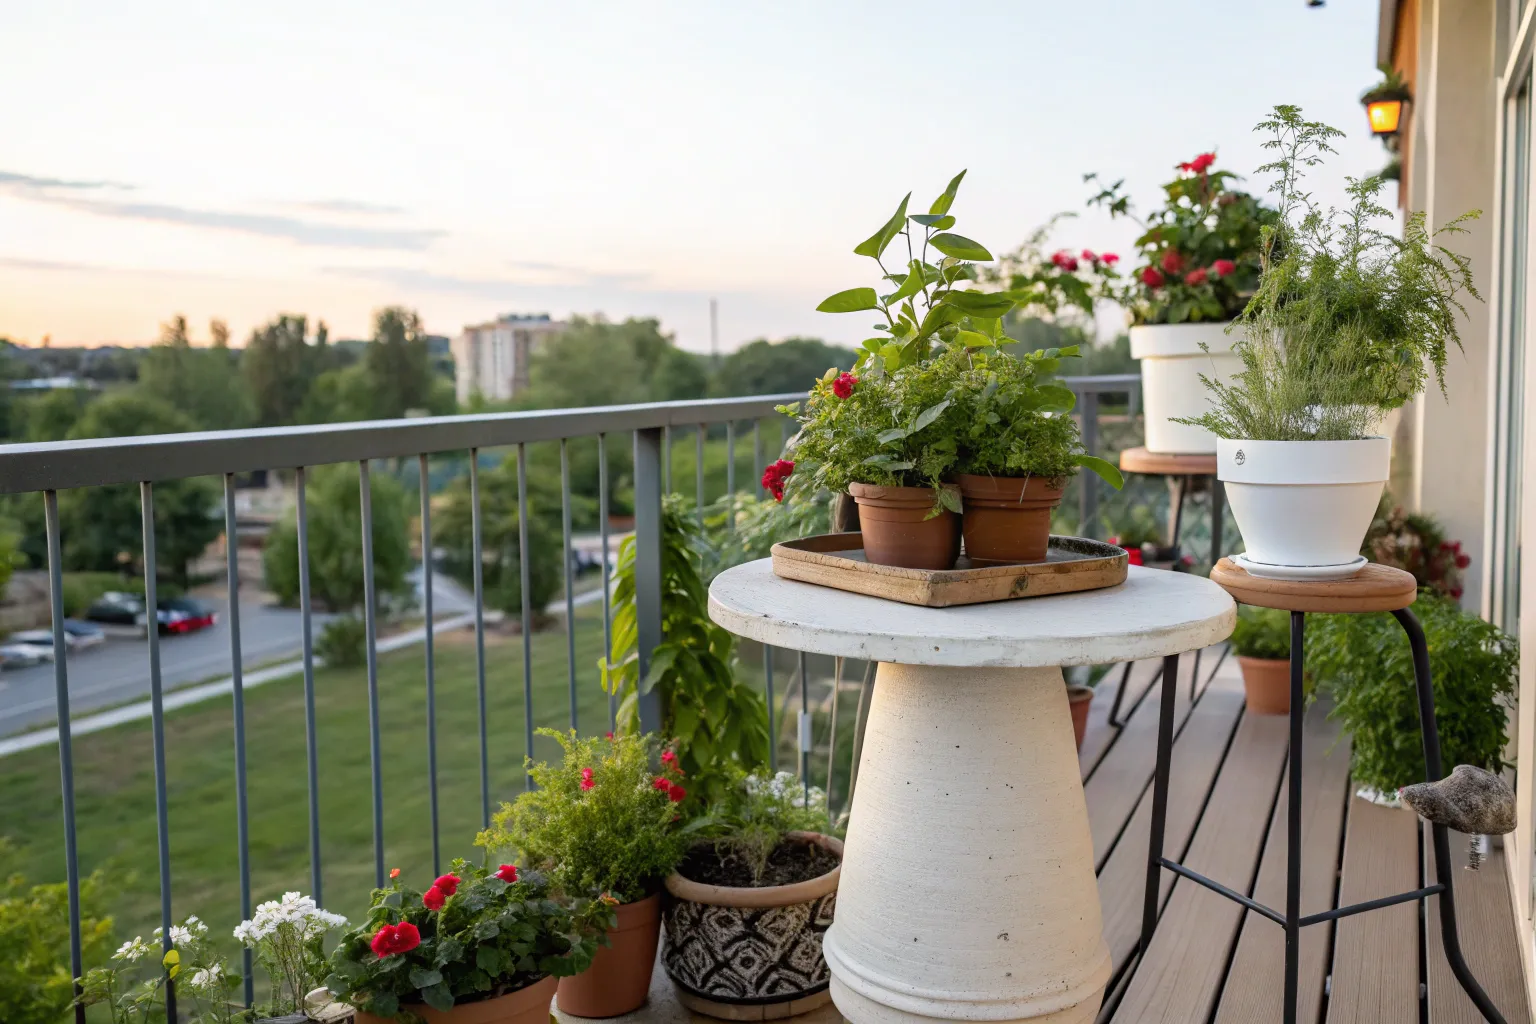
Transform ordinary plant pots into a stunning, weatherproof table base for your balcony. With simple tools and a creative spirit, you can craft a standout piece perfect for relaxing or entertaining outdoors.
Materials & Tools

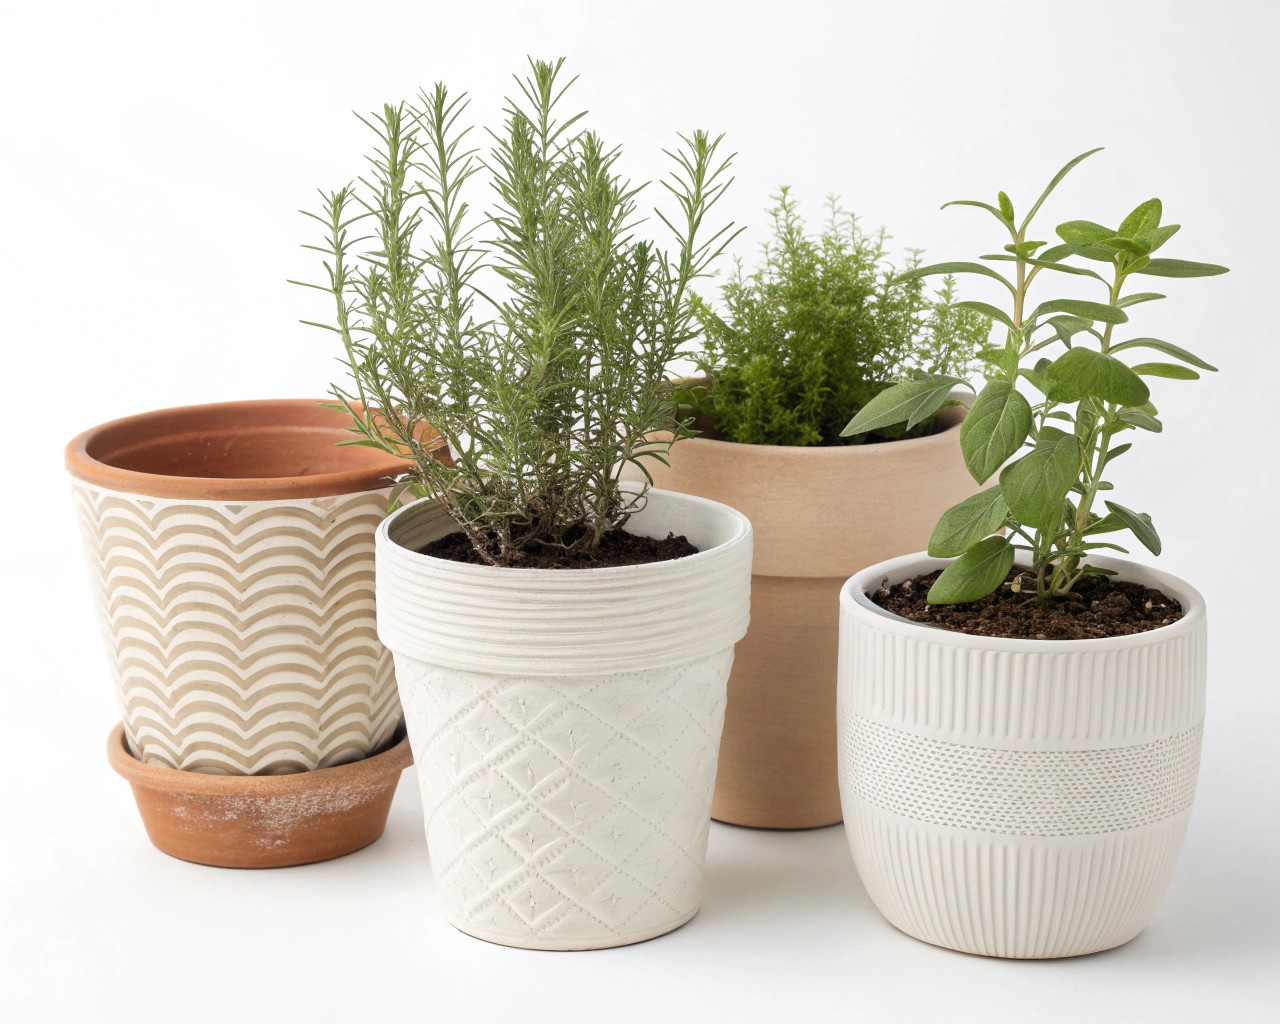
- 3–5 sturdy plant pots (ceramic, resin, or terracotta), ideally in various sizes
- Tabletop (reclaimed wood, plywood circle, or upcycled tabletop)
- Heavy-duty construction adhesive (such as Liquid Nails)
- Gypsum joint compound or plaster
- Fine-grit sanding sponge or block
- Exterior primer and paint (or liquid stone-effect paint)
- Matte outdoor clear varnish
- Drill with wood or masonry bit (for terracotta)
- Measuring tape, pencil, and level
- Optional: Router and solid wood panel for a rounded tabletop edge
1. Plan & Prepare

- Measure your balcony to determine the ideal tabletop size and table height.
- Mark the center point on your tabletop.
- Place the largest pot upside-down at the center, checking for stability and balance.
- Experiment with stacking smaller pots on or under the base—aim for a pleasing silhouette and even height.
2. Assemble the Pot Base
-
Stack and secure pots:
-
If stacking three or more pots, alternate them right-side up and upside-down to improve stability.
- Apply a generous bead of construction adhesive between each pot rim.
-
Optional bolting for reinforcement:
-
Drill through rim areas where pots meet and fasten with carriage bolts and washers for extra strength.
-
Smooth the seams:
-
After the adhesive sets, fill any visible seams with plaster or joint compound.
- Let dry (2–4 hours), then sand flush for a seamless look.
3. Finish & Seal
-
Prime and paint the base:
-
Use an exterior primer on absorbent pots.
- Paint with your chosen exterior color or a specialty stone-effect finish for extra style.
-
Seal the tabletop:
-
Sand wood tops lightly, then stain or paint.
- Apply a weatherproof clear matte varnish for protection against moisture and sun.
4. Attach the Tabletop
- Center your pot base beneath the tabletop using your marked midpoint.
- Apply construction adhesive to the top rim of the pot stack.
- Clamp or weight down the tabletop until the adhesive cures as directed.
- For added durability, attach a wood block inside the top pot and secure the tabletop with screws from underneath.
5. Styling Ideas & Adaptations

- Mixed Material Vibes:
Combine different pot textures—glazed, matte, or textured—to create eye-catching contrast. - Softened Tabletop Edges:
Use a router to round off your tabletop for a polished designer finish. - Living Greenery Integration:
Leave one pot near the bottom unsealed and plant dwarf succulents or trailing vines for a living base. - Subtle Lighting Upgrades:
Wrap string lights around your pot stack or place a battery lantern atop for a cozy nighttime glow.
Inspiration: Modern Minimalist
Stack matte white ceramic pots for a sleek, understated look. Top with a circular pine panel finished in a clear varnish; the crisp lines deliver a relaxed, chic touch perfect for any balcony.
Inspiration: Mediterranean Warmth
Use a mix of terracotta and sand-hued pots, and paint the base in a soft linen shade. Pair with an upcycled wooden tabletop for a sun-kissed, Mediterranean-inspired setting.
Inspiration: Eclectic Charm
Stack one oversized glazed blue pot with smaller neutral ones, letting textures and shapes play off each other. Add a reclaimed glass tabletop for contrast and visual interest.
A DIY table like this becomes more than just furniture—it’s a statement piece and a clever upcycling project. However you style yours, you’ll enjoy a custom centerpiece that makes the most of materials you already have, while adding functionality and flair to your outdoor space.

