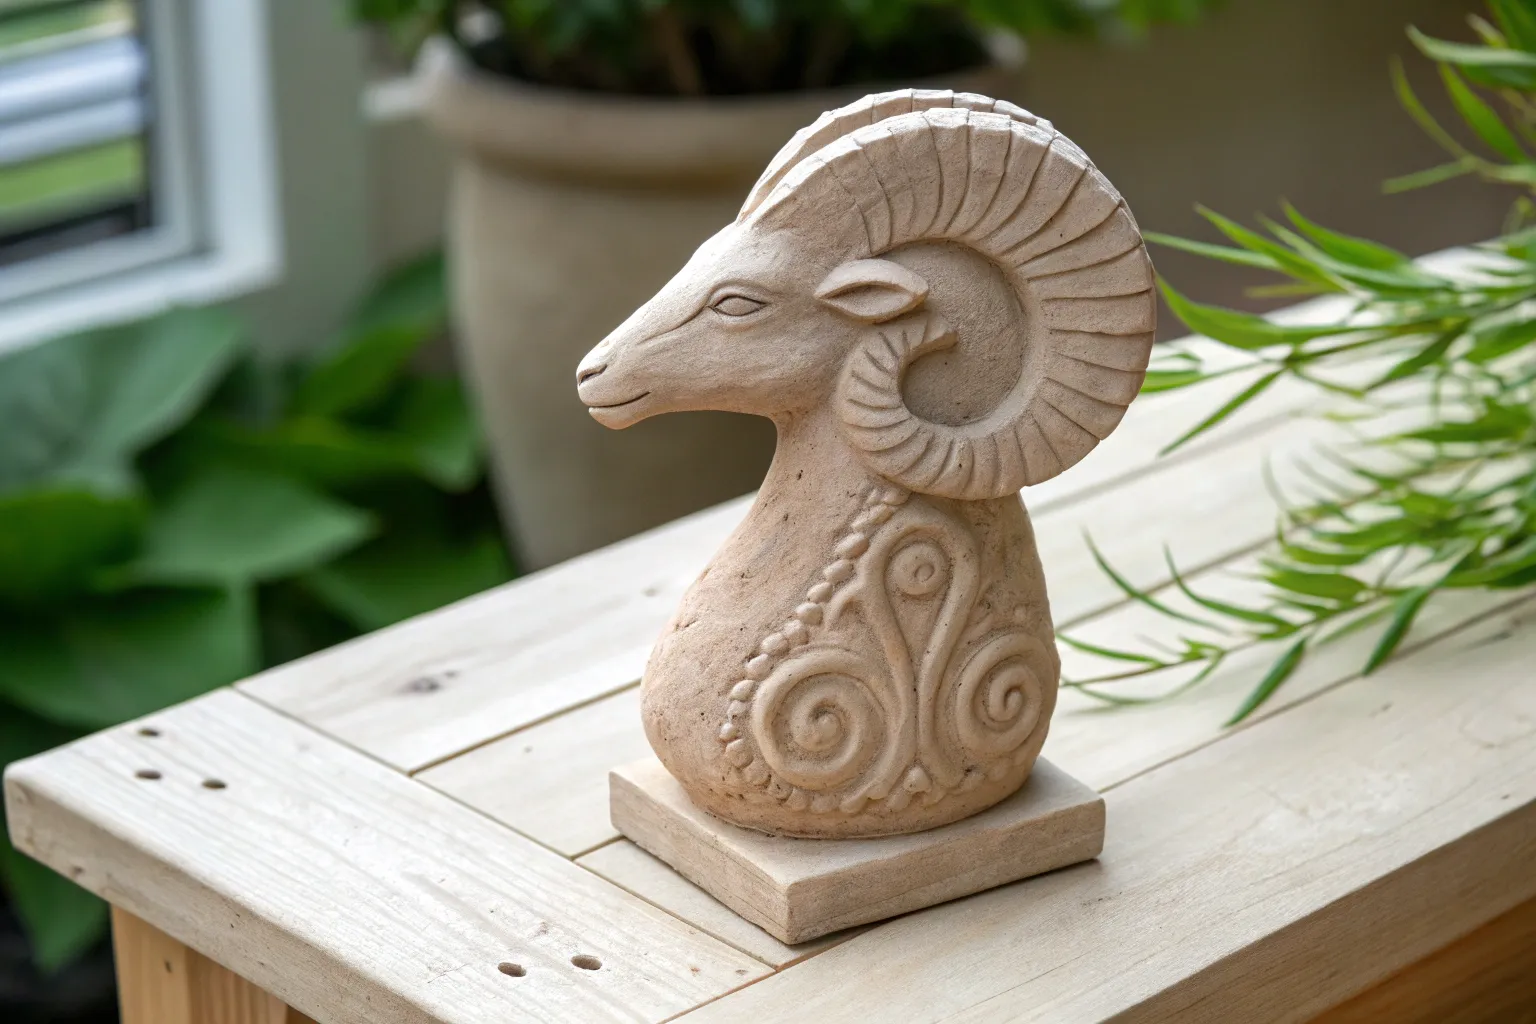
Creating personalized zodiac sculptures combines the ancient fascination with celestial symbolism and the timeless satisfaction of working with clay. I’ve found that crafting these miniature representations offers both meditative focus and tangible results that can enhance any living space.
Understanding Your Creative Foundation
Choosing Your Clay Medium
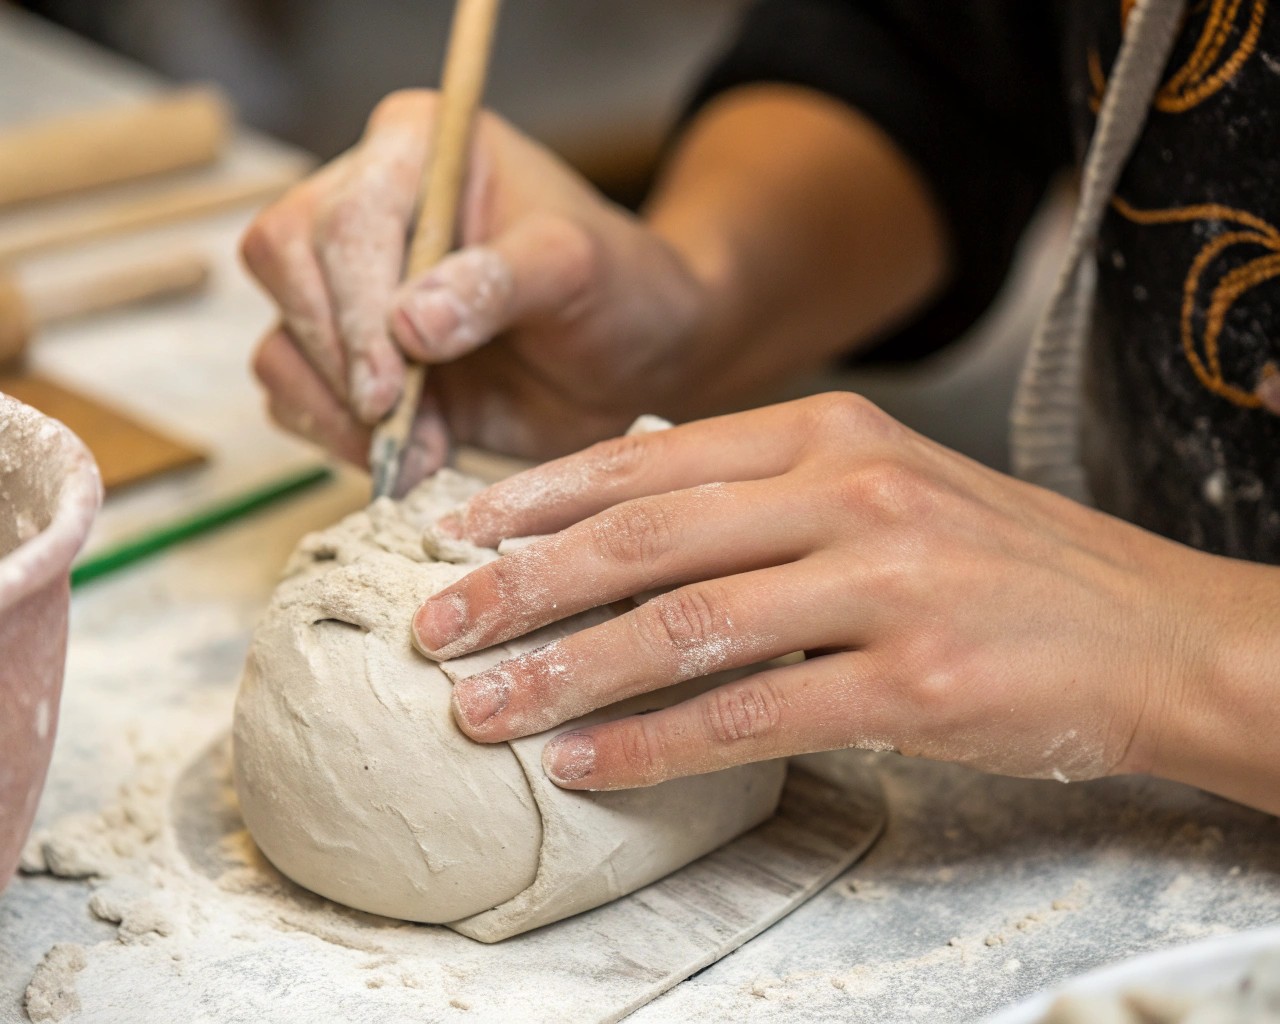
The foundation of your zodiac sculpture begins with selecting the right clay. Air-dry clay offers the most accessible entry point for beginners, requiring no special equipment beyond basic sculpting tools. These water-based clays remain workable for extended periods, making them ideal for detailed work, though they may shrink slightly during the drying process.
Polymer clay provides superior durability and precision for intricate details. Unlike air-dry varieties, polymer clay maintains its flexibility until baked, allowing you to work on projects over multiple sessions without concern for premature hardening. The synthetic composition creates stronger, more weather-resistant pieces that won’t crack over time.
For environmental considerations, air-dry clay contains natural materials and biodegradable components, while polymer clay, though non-toxic, requires proper ventilation during baking.
Essential Tools and Materials
Your basic toolkit should include:
| Category | Essential Items | Optional Upgrades |
|---|---|---|
| Sculpting Tools | Small wooden modeling tools, needle tool, basic knife | Professional ceramic tool set, silicone brushes |
| Shaping | Rolling pin, small paintbrushes | Ball-ended tools, wire mesh for delicate areas |
| Safety | Work surface (glass or ceramic tile), wet wipes | Respirator mask, safety goggles |
| Finishing | Acrylic paints, fine brushes, sealer | Metallic powders, texture tools |
Decoding Zodiac Symbolism
The Twelve Signs and Their Visual Elements
Each zodiac sign carries distinctive visual characteristics that translate beautifully into sculptural form:
Fire Signs demand bold, dynamic forms:
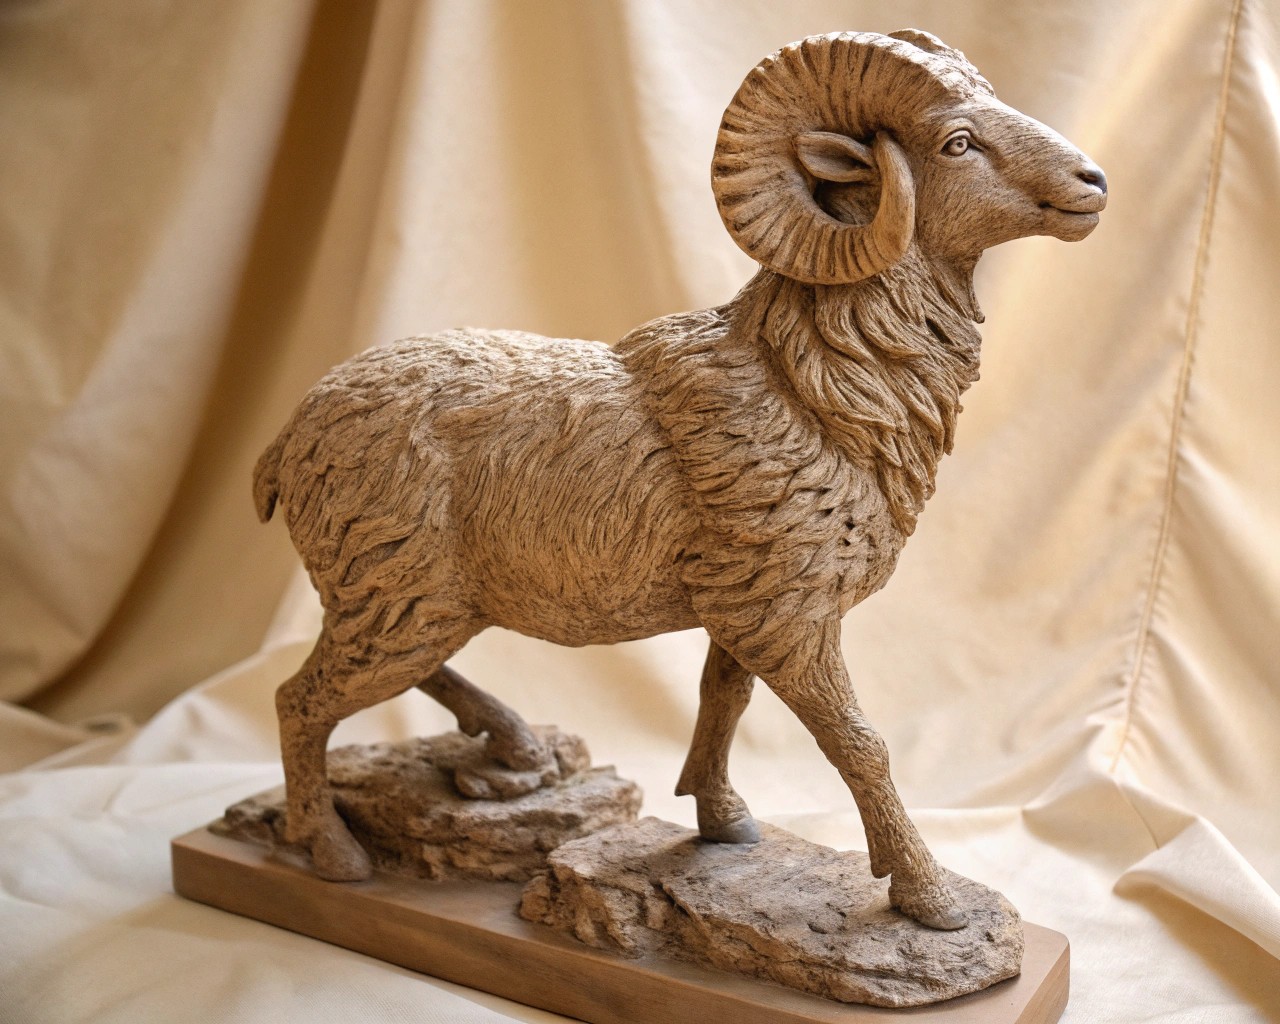
- Aries (March 21-April 19): Ram’s horns and angular features emphasize leadership energy
- Leo (July 23-August 22): Maned lion forms with regal bearing
- Sagittarius (November 22-December 21): Archer’s bow or centaur hybrid
Earth Signs benefit from grounded, substantial shapes:
- Taurus (April 20-May 20): Bull features with emphasis on strength
- Virgo (August 23-September 22): Refined human forms with agricultural symbols
- Capricorn (December 22-January 19): Goat-fish hybrid combining earthly and aquatic elements
Air Signs call for flowing, communicative designs:
- Gemini (May 21-June 20): Twin figures or dual-aspect compositions
- Libra (September 23-October 22): Balanced scales or harmonious paired elements
- Aquarius (January 20-February 18): Water-bearer with flowing vessels
Water Signs embrace fluid, emotional expressions:
- Cancer (June 21-July 22): Crab forms with protective shells
- Scorpio (October 23-November 21): Scorpion with distinctive curved tail
- Pisces (February 19-March 20): Paired fish swimming in opposite directions
Constellation Integration
The star patterns associated with each sign provide additional design inspiration. Consider incorporating small impressed dots or raised stars to represent the actual constellation within your sculpture’s base or background elements.
Step-by-Step Sculpting Process
Preparation and Safety
Before beginning, establish your workspace on a dedicated ceramic tile or glass surface. Clay’s plasticizers can damage wood finishes and certain plastics. Ensure adequate ventilation and keep water nearby for hand cleaning throughout the process.
Creating the Base Structure
Begin with a golf ball-sized portion of clay, conditioning polymer clay through kneading until pliable. Form your basic shape:
- Roll into an oval for the main body
- Establish proportions with the sculpture fitting comfortably in your palm
- Create a flat base to ensure stable display
Developing Sign-Specific Features
For Animal Forms (Aries, Taurus, Leo, Cancer, Scorpio, Capricorn, Pisces):
- Build primary body shape first
- Add distinctive features (horns, manes, claws, tails) using separate clay pieces
- Blend connections thoroughly using wooden tools and small brushes
For Human Forms (Gemini, Virgo, Libra, Sagittarius, Aquarius):
- Start with simplified human silhouette
- Focus on characteristic poses or attributes
- Add symbolic elements (scales, bow, water vessel) as separate components
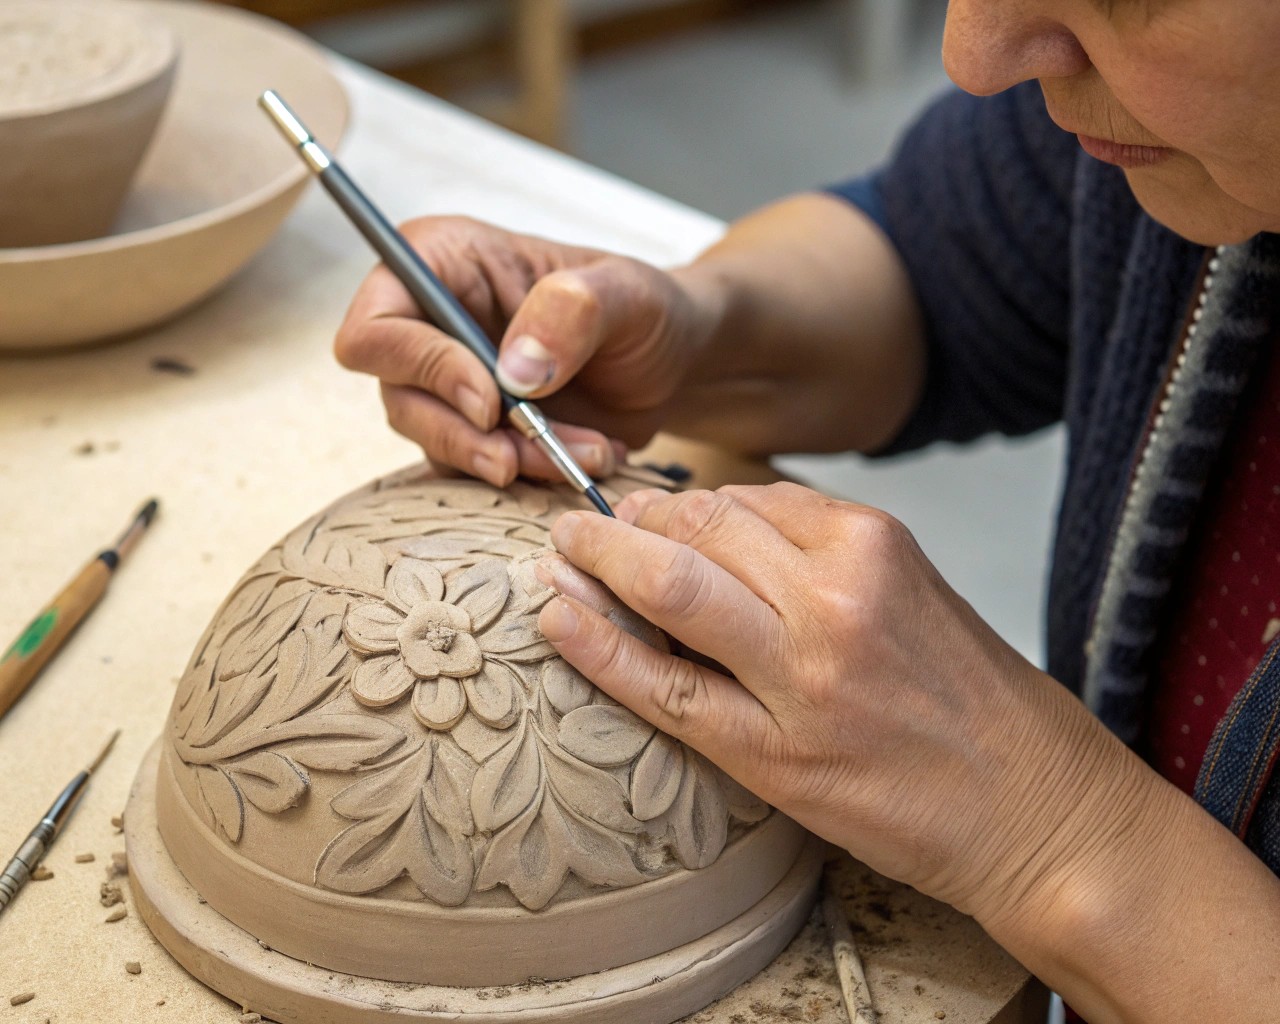
Texturing and Detail Work
Use various tools to create surface interest:
- Needle tools for fine line work and star patterns
- Textured materials like fabric or sandpaper for clothing or skin effects
- Small brushes for smoothing and blending joins
Surface Finishing
For air-dry clay, allow 24-48 hours for complete drying. Polymer clay requires baking according to manufacturer specifications, typically 15-30 minutes at low temperature.
Once cured, sand lightly if needed and apply base colors using acrylic paints. Build up details in layers, allowing each to dry completely.
Creating Your Display Frame
Frame Selection and Sizing
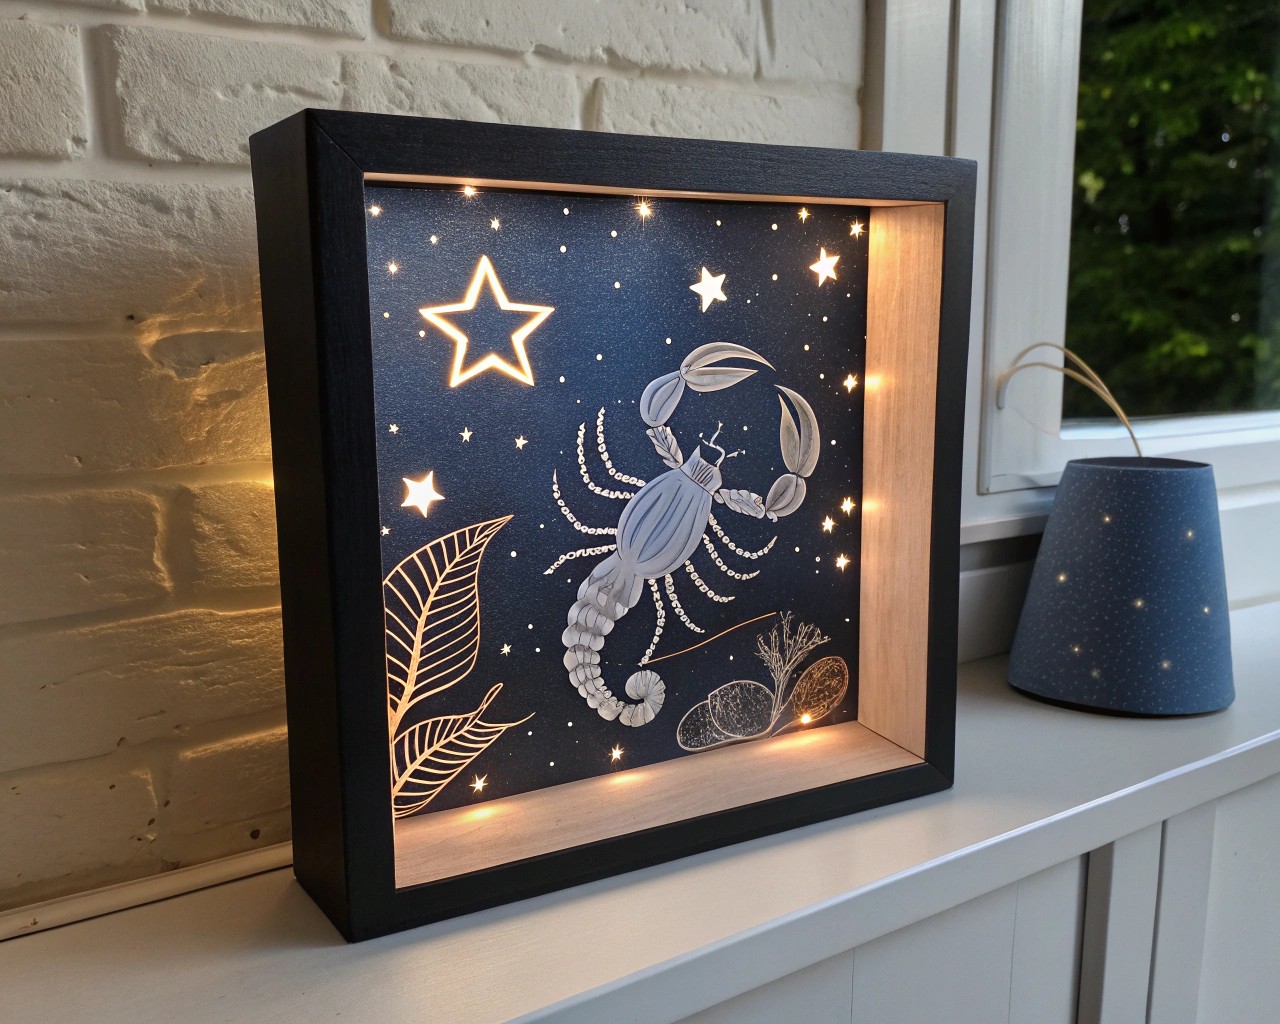
Your finished sculpture needs an appropriate showcase. Shadow boxes provide three-dimensional display space while protecting your work. Standard 8×10 inch frames with 2-3 inch depth accommodate most palm-sized sculptures comfortably.
DIY Shadow Box Construction
For custom sizing:
- Measure your sculpture including any protruding elements
- Calculate frame dimensions allowing 2 inches clearance on all sides
- Determine depth based on sculpture height plus 1 inch
Materials needed:
- Picture frame with backing
- Wood strips for spacers (1×2 inch pine works well)
- Strong adhesive or small nails
- Backing material (fabric, paper, or painted surface)
Assembly Process:
- Remove glass and backing from frame
- Cut spacer strips to frame interior dimensions
- Attach spacers to create depth, ensuring level placement
- Add decorative backing – consider deep blues or blacks to simulate night sky
- Create mounting platform for sculpture using small wooden block or clear acrylic
Lighting Considerations
LED strip lighting placed along the frame’s interior edge creates dramatic uplighting. Battery-operated options eliminate cord concerns while providing adjustable illumination that highlights sculptural details.
Advanced Display Techniques
Constellation Backdrop Creation
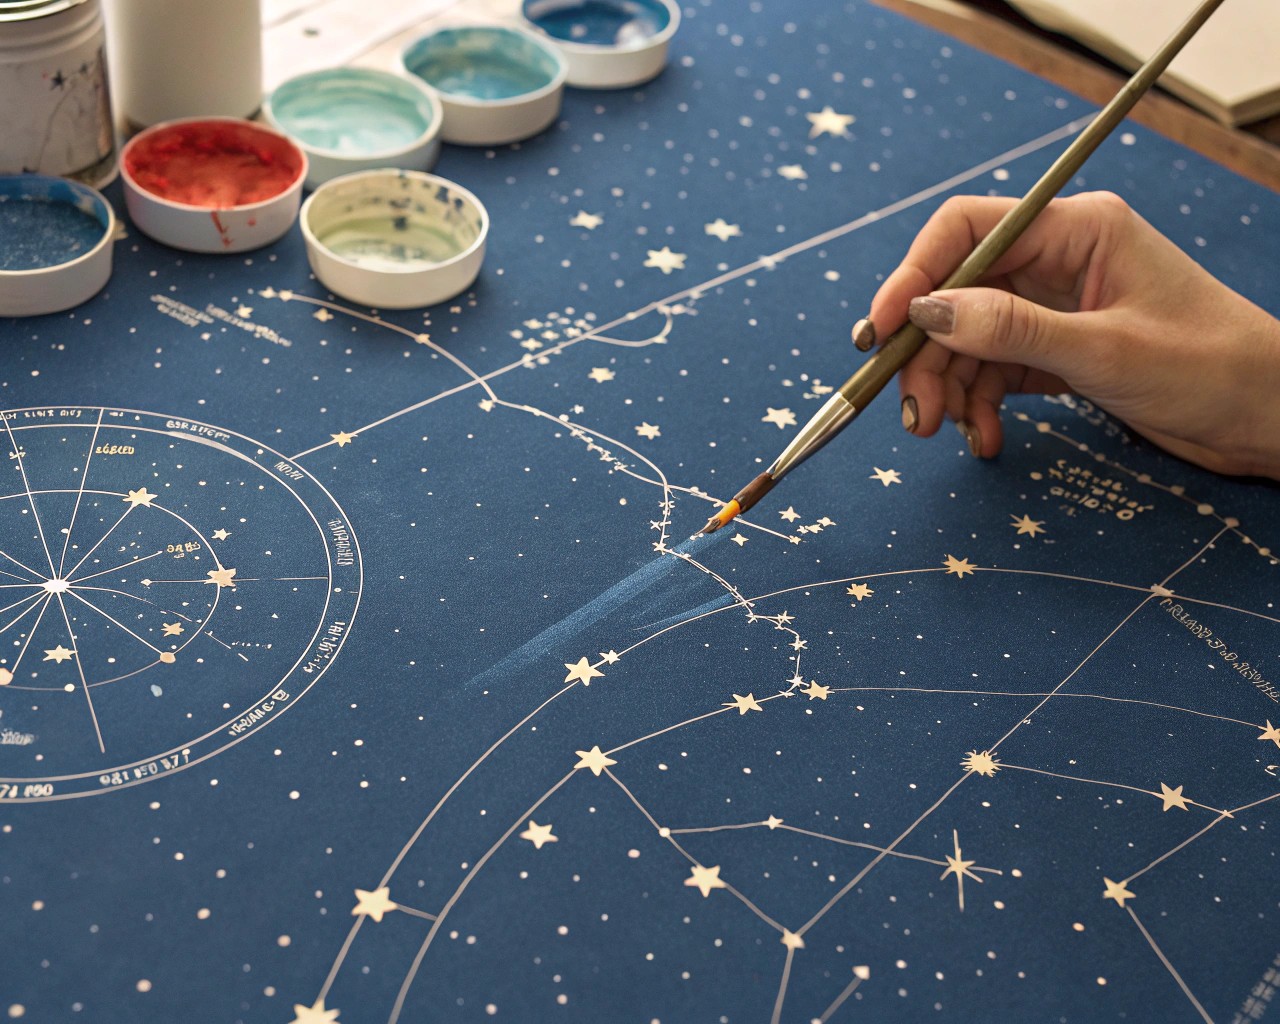
Transform your frame’s background into a star field:
- Paint backing in gradient dark blue to black
- Map constellation pattern lightly in pencil
- Apply star points using white or metallic paint dots
- Connect constellation lines with thin silver or gold lines
Multi-Piece Arrangements
Consider creating series displays:
- Seasonal groupings (spring signs: Aries, Taurus, Gemini)
- Element families (all fire signs or water signs together)
- Personal significance (your sun, moon, and rising signs)
Interactive Elements
Removable sculptures allow for seasonal rotation or closer examination. Mount pieces on small magnets or use museum putty for temporary but secure placement.
Troubleshooting Common Challenges
Clay Working Issues
| Problem | Solution |
|---|---|
| Clay too soft | Allow air exposure time or refrigerate polymer clay briefly |
| Cracking during drying | Work in thinner layers, maintain moderate humidity |
| Poor adhesion between parts | Score surfaces and use slip (watered clay) as glue |
| Surface imperfections | Sand lightly when leather-hard, use fine brushwork for smoothing |
Framing Challenges
Size miscalculations can be addressed by adjusting internal spacers or creating custom mats. Dust accumulation requires regular cleaning with soft brushes and occasional disassembly for thorough maintenance.
Maintenance and Longevity
Sculpture Care
Sealed air-dry clay pieces benefit from occasional resealing, particularly in humid environments. Polymer clay requires minimal maintenance but should be protected from extreme temperature changes.
Display Environment
Position frames away from direct sunlight to prevent paint fading. Maintain stable temperature and humidity to prevent material expansion and contraction that could affect delicate details.
Seasonal Adjustments
Rotate displays according to astrological seasons – featuring your current zodiac period prominently while storing others safely. This practice maintains interest while preserving pieces from continuous light exposure.
Creating zodiac sculptures connects us to ancient traditions while expressing contemporary creativity. The process develops both technical skills and personal connection to celestial symbolism, resulting in unique decorative pieces that reflect individual personality and cosmic awareness. Whether crafting a single meaningful piece or building a complete zodiac collection, this project offers lasting satisfaction and beautiful home décor that tells your personal stellar story.

